When it comes to photo-editing, we all think about Adobe Photoshop. Though it’s one of the most powerful photo editing software, but at the same time, it is very difficult to use it for beginners.

You don’t have to rely on Adobe Photoshop when you have a number of other options available. Google Play Store is loaded with so many third-party apps that can help you remove the background from an image.
This tutorial will guide you how to remove image background on your Android phone with just a few taps. Let’s get started!
How to remove image background on Android
After testing a few background removing apps, we recommend you to use Background Eraser. This app allows you to erase the background of any image very easily. You can create a transparent background PNG file.
Here’s a step-by-step guide to use it –
- First, download and install Background Eraser app on your Android phone.
- Open it and tap “Load a photo” button to load the photo you want to edit.

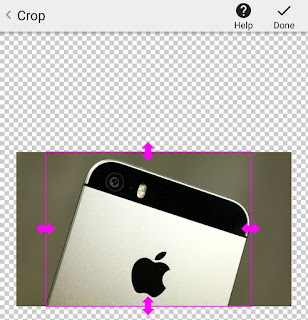
- Now crop the photo as much as possible to remove the unwanted area around the object you want to make transparent.

- In the editing screen, there are 4 editing modes available:

- Auto – This mode allows you to erase the similar color pixels automatically. Just tap the area and move the bottom slider to adjust the threshold of similar color. This feature is more useful when a photo has a monochromatic background.
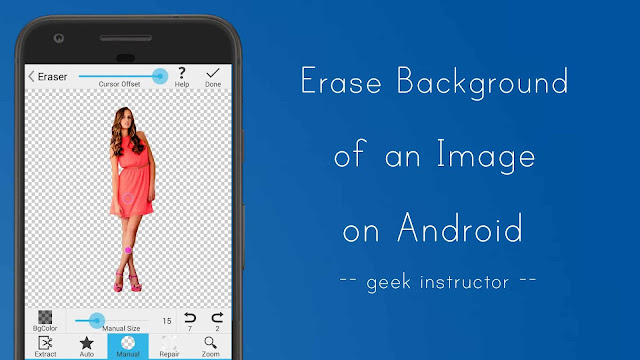
- Manual – In this mode, you can manually erase the background of an image. You can resize the cursor using the slider at the bottom.
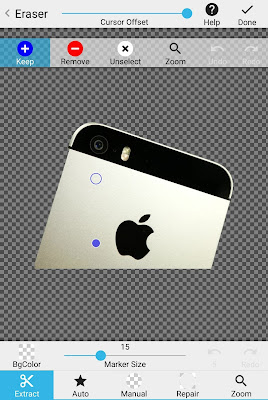
Using the cursor offset slider at the top, you can adjust the distance between the touched point (i.e. your fingers) and the cursor. - Extract – This mode allows you to select the area you want to keep or erase. Simply select “Keep” or “Remove” option from the top panel and draw a line around the object (or area).
- Repair – As the name itself suggests, Repair mode lets you repair the area that has been erased accidentally.
You can zoom in the photo with your fore-fingers to edit the edges more sharply. You can also change the background color using BgColor button on the editing screen.
- Once you have edited the photo, tap “Done” button.
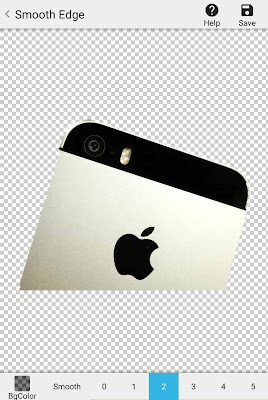
- Now select the smoothness of the edges and finally click “Save” button to save the transparent background PNG file photo.

If a photo has a monochromatic background (green screen, for example), it can be erased easily and you can expect more good results. You can use the transparent background PNG image to make a logo, poster, collage, or photomontage.
- Also read: How to create a favicon (.ico) image
So far, Background Eraser is one of the best background erasing apps for Android. Loaded with so many features, it has a very simple UI and less number of ads. If you want to ask something about this tutorial, feel free to share it in the comment section.


