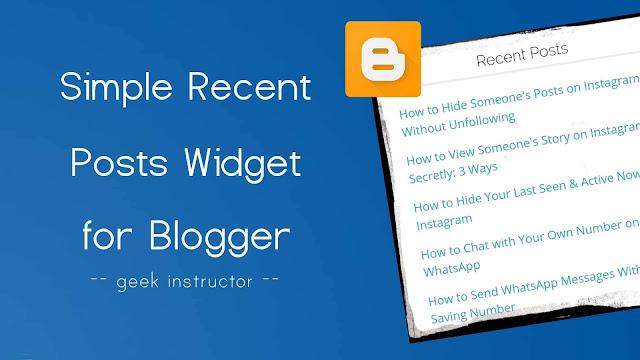
There are a number of built-in gadgets available in Blogger like popular posts widget that you can add on your blog directly from the layout section. Unluckily, Blogger doesn’t have the recent posts widget in this list.
You have to add the recent posts widget on your blog manually. We have created a very simple recent posts widget using HTML, CSS, JavaScript and Blogger JSON feed.
Some features of this recent post widget
Here are some of the features of this widget –
- Simple UI – It simply displays a list of the latest posts from your blog. There is no post thumbnail and description.
- Fast loading – As this recent posts widget doesn’t have images, it loads really fast and it doesn’t have much effect on the page loading time.
- Increase user engagement – The recent posts widget will engage visitors with your latest content, thus increasing your page views and revenue generated by the ads.
- Looks professional – It will fit on any blog design and theme.
You can see the live preview of this recent post widget in the sidebar section of our website.
How to add recent post widget in Blogger
Here’s a step-by-step guide to adding recent posts widget on your Blogger blog –
- First, login to your Blogger Dashboard and go to Layout section.
- Click “Add a gadget” button in the sidebar section of your blog layout or anywhere you want to add the recent posts widget.
- Now a pop up window will open. Click “HTML/JavaScript” option.
- Type “Recent Posts” in the title box.
- Next, copy the following code and paste it in the content box.
- Replace your-blog-url with the URL of your blog.
- To change the number of blog posts you want to display, change ListCount and max-results number.
- You can customize the CSS according to your blog design/theme.
- Finally, tap the “Save” button to save the widget on your blog. That’s it.
<style type="text/css">
.recentpost li{font-size:14px;list-style-type:none;margin:0px!important}
.recentpost li a{padding-bottom:10px;display:block;line-height:23px;text-transform:none}
.recentpost li a:hover{color:#00BCD4;transition:all 0s ease}
</style>
<script type="text/javascript">
var ListBlogLink = window.location.hostname; var ListCount = 5; var TitleCount = 70; function recentpost(json) { document.write('<ul class="recentpost">'); for (var i = 0; i < ListCount; i++) { var listing= ListUrl = ListTitle = ""; for (var j = 0; j < json.feed.entry[i].link.length; j++) { if (json.feed.entry[i].link[j].rel == 'alternate') {break;}} ListUrl= "'" + json.feed.entry[i].link[j].href + "'"; if (json.feed.entry[i].title!= null) { ListTitle= json.feed.entry[i].title.$t.substr(0, TitleCount);} var listing = "<li><span style="font-size: large;"><a href="+ListUrl+">"+ListTitle+"</a></span></li>
"; document.write(listing); } document.write("</ul>
");}</script>
<script>ListCount = 6;  TitleCount = 70; document.write("<script src='https://www.your-blog-url.com/feeds/posts/default?alt=json-in-script&callback=recentpost&max-results=6'></"+"script>");</script>
We hope you liked this simple recent posts widget. If you are facing any problem while adding it on your Blogger blog, let us know in the comment section.