iPhones are known worldwide for their spectacular camera quality and camera features. And if you own an iPhone and still click blemish photos like a rookie then sorry to say but you are counting the pennies while holding a box of treasure in your hands.
iPhone cameras can compete with high-quality DSLRs. If even without being aware of the use of iPhone camera features you can click a photo or record a video that grapes your eyeballs for some time then give a thought that how would a perfectly clicked photo from an iPhone will look like? But you need to be acquainted with all the features of your iPhone camera for that. This is what we are here for.
In this article, we will share with you the best iPhone camera tips and tricks so you can take mesmerizing photos and shoot professional videos without your DSLR handy. So let’s get the ball rolling.
Table of Contents
1. Focus and adjusting exposure
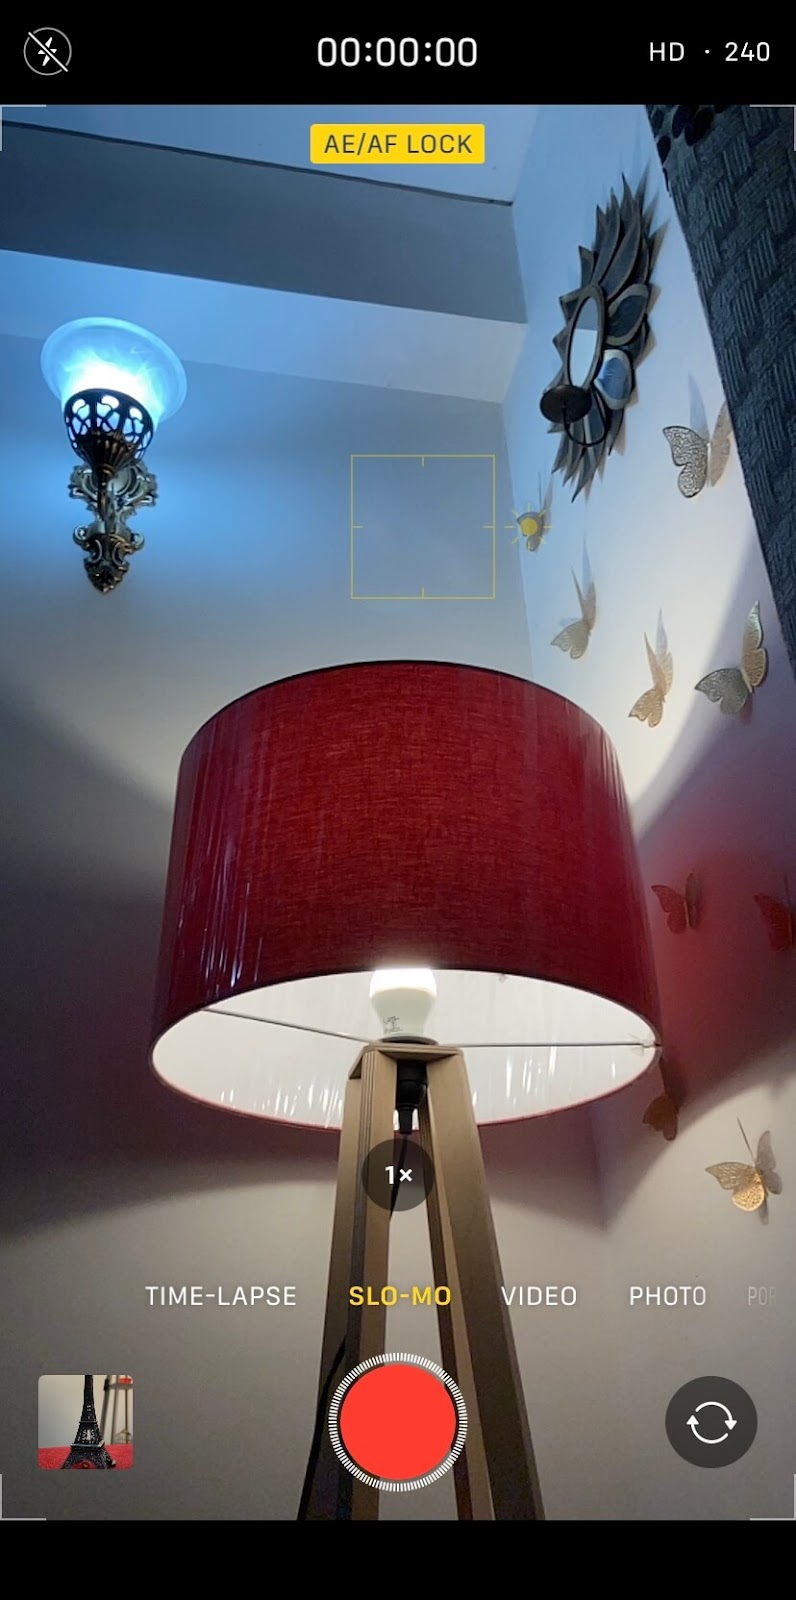
If you master the trick to give the perfect focus and exposure to your photos, you will notice a profound change in your photography skills. To give the focus to your photo, you need to tap on the object that you need to capture. This will remove any blurriness from that object and sharp it up a little.
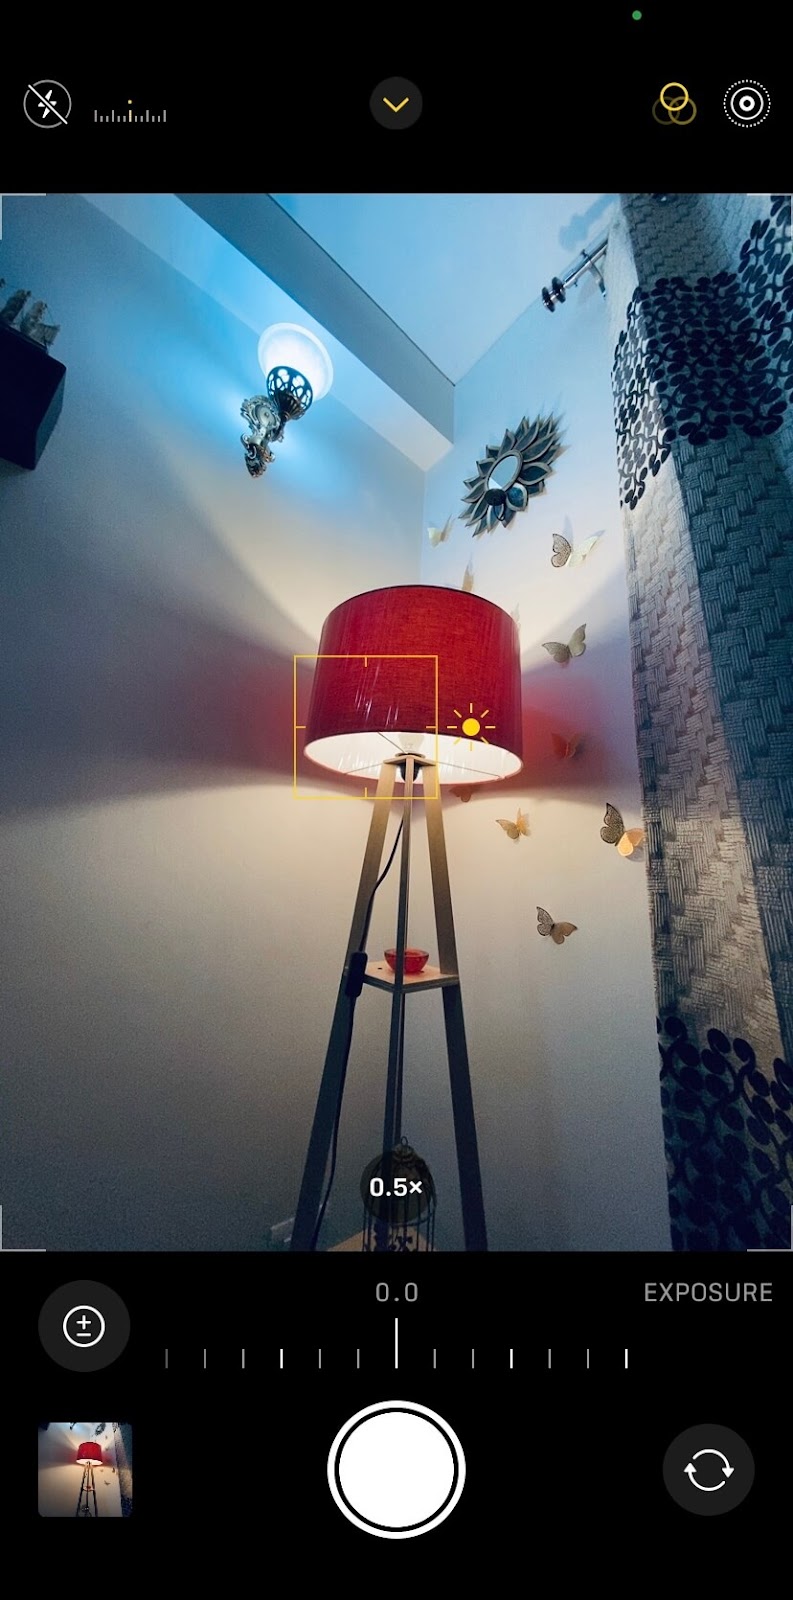
Exposure simply means giving the perfect light to your photo. Too much light or too little light will decrease the quality of the photo. After you tap the screen, you will see a brightness bar appearing on the screen. You need to move up the bar to give more light and move it down to give less light to your photo.
2. Blur background with Portrait mode
Some people might not know what portrait mode is all about while others might not be aware that how to click those professional photos where the background is all blurred. Well, the portrait mode of your phone is the one that clicks those photos.
- Open the camera app on your iPhone and scroll to the PORTRAIT option.
- Make sure the object is between two to eight feet away from the camera.
- Click the ƒ icon in the upper-right corner. This will show a slider at the bottom which you can use to adjust the focal length.

- Click the photo with a perfect angle.
In the latest iPhones, you can also change the blur you want to keep in the background.
- Open the photo in Photos app.
- Tap on the Edit option on the top.
- Move the slider given at the bottom to increase or decrease the blurring power.
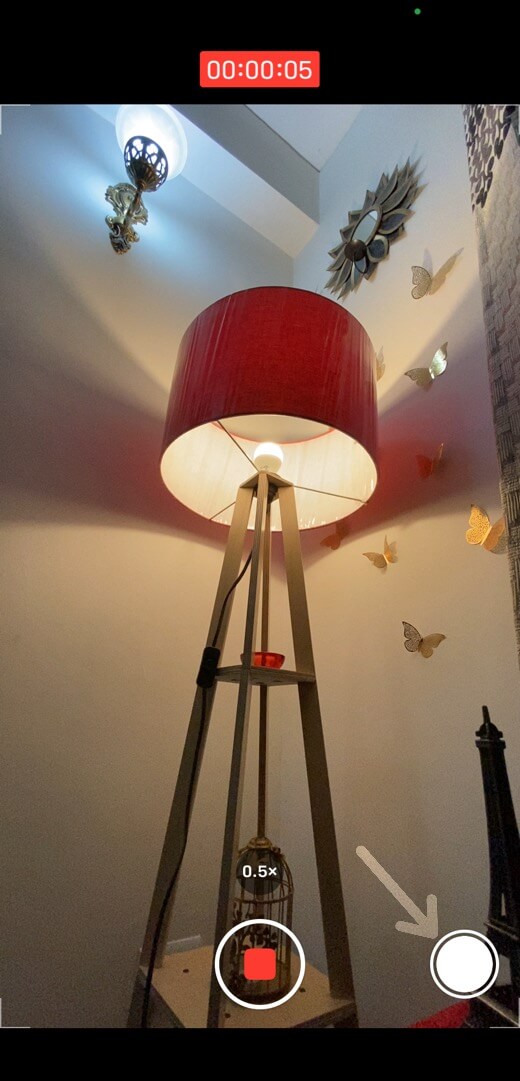
3. Clicking photos while recording video
While recording a video, there might come a point when you want to click a photo but don’t want any interruption in your video either. iPhone allows you to do that and it’s quite easy to do so.
While recording a video, you can see a white round button appearing on the side. Just by tapping on it, you can click a photo while your video is getting recorded normally.
4. Take your night photography to the next level
For clicking photos in the daytime, you have a lot of features and the natural light is good enough to give a good light exposure to the photos. But that’s not the case when it’s night. The normal working of the camera will not click photos that make you go WOW! That’s why iPhones come with a night mode feature that adjusts the camera quality to make your photos night friendly and you have good light exposure in your photos.
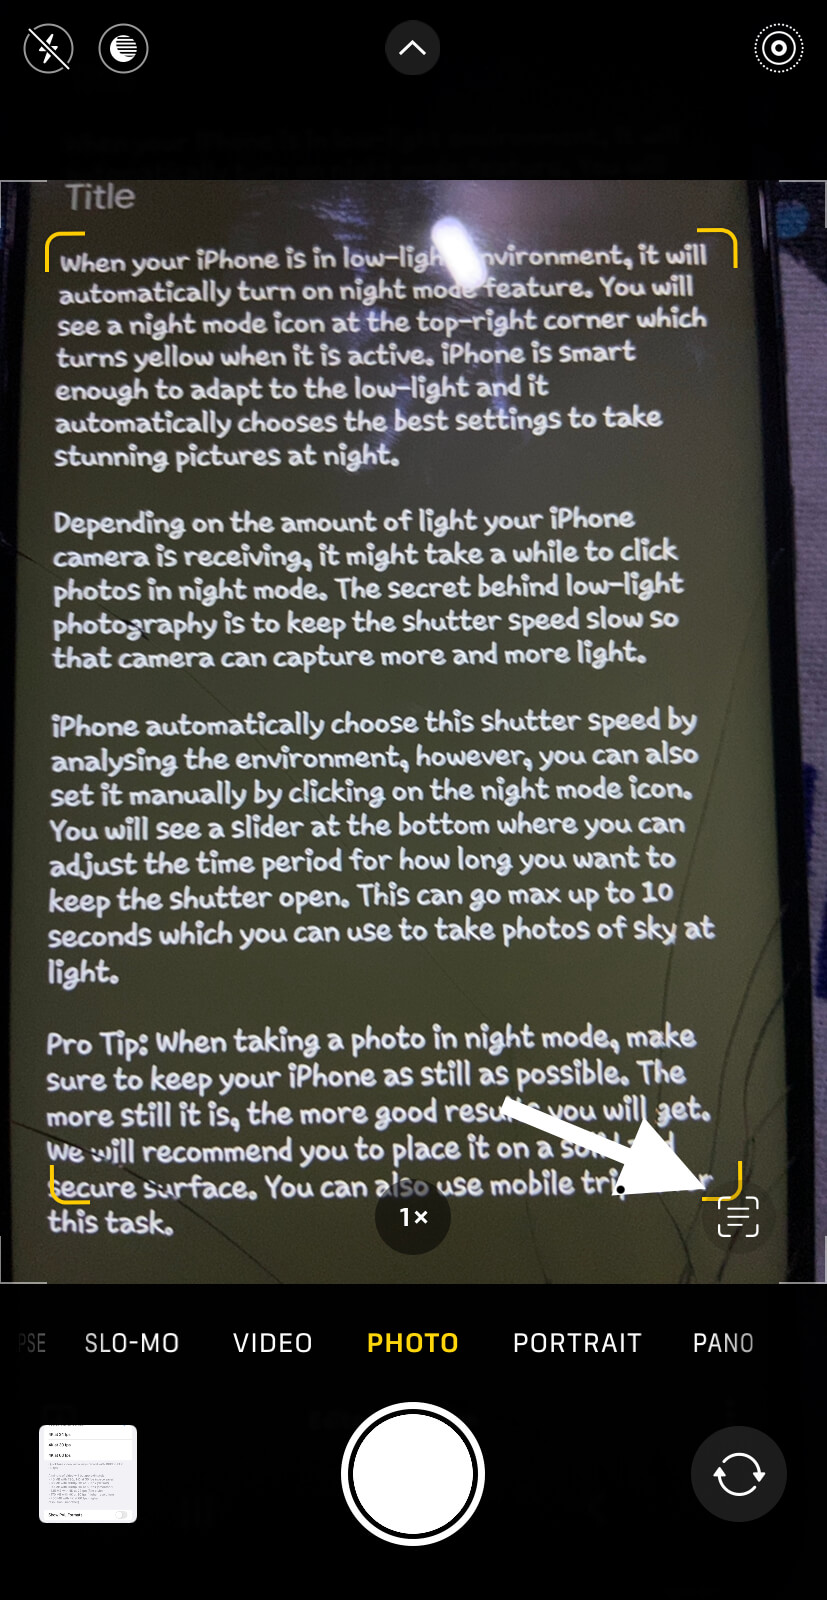
When your iPhone is in low-light environment, it will automatically turn on night mode feature. You will see a night mode icon at the top-right corner which turns yellow when it is active. iPhone is smart enough to adapt to the low-light and it automatically chooses the best settings to take stunning pictures at night.
Depending on the amount of light your iPhone camera is receiving, it might take a while to click photos in night mode. The secret behind low-light photography is to keep the shutter speed slow so that camera can capture more and more light.
iPhone automatically choose this shutter speed by analysing the environment, however, you can also set it manually by clicking on the night mode icon. You will see a slider at the bottom where you can adjust the time period for how long you want to keep the shutter open. This can go max up to 10 seconds which you can use to take photos of sky at light.
Pro Tip: When taking a photo in night mode, make sure to keep your iPhone as still as possible. The more still it is, the more good results you will get. We will recommend you to place it on a solid and secure surface. You can also use mobile tripod for this task.
5. Smoot time-lapse videos
You must have seen time-lapse videos in the movies or the shorts taken by professional photographers where they show the clouds moving from dusk till dawn and the cars going and coming with speed. iPhones also come with a time-lapse feature using which you can create the same types of shots.
- Open your iPhone camera and scroll through the options given at the bottom till you find TIME-LAPSE.
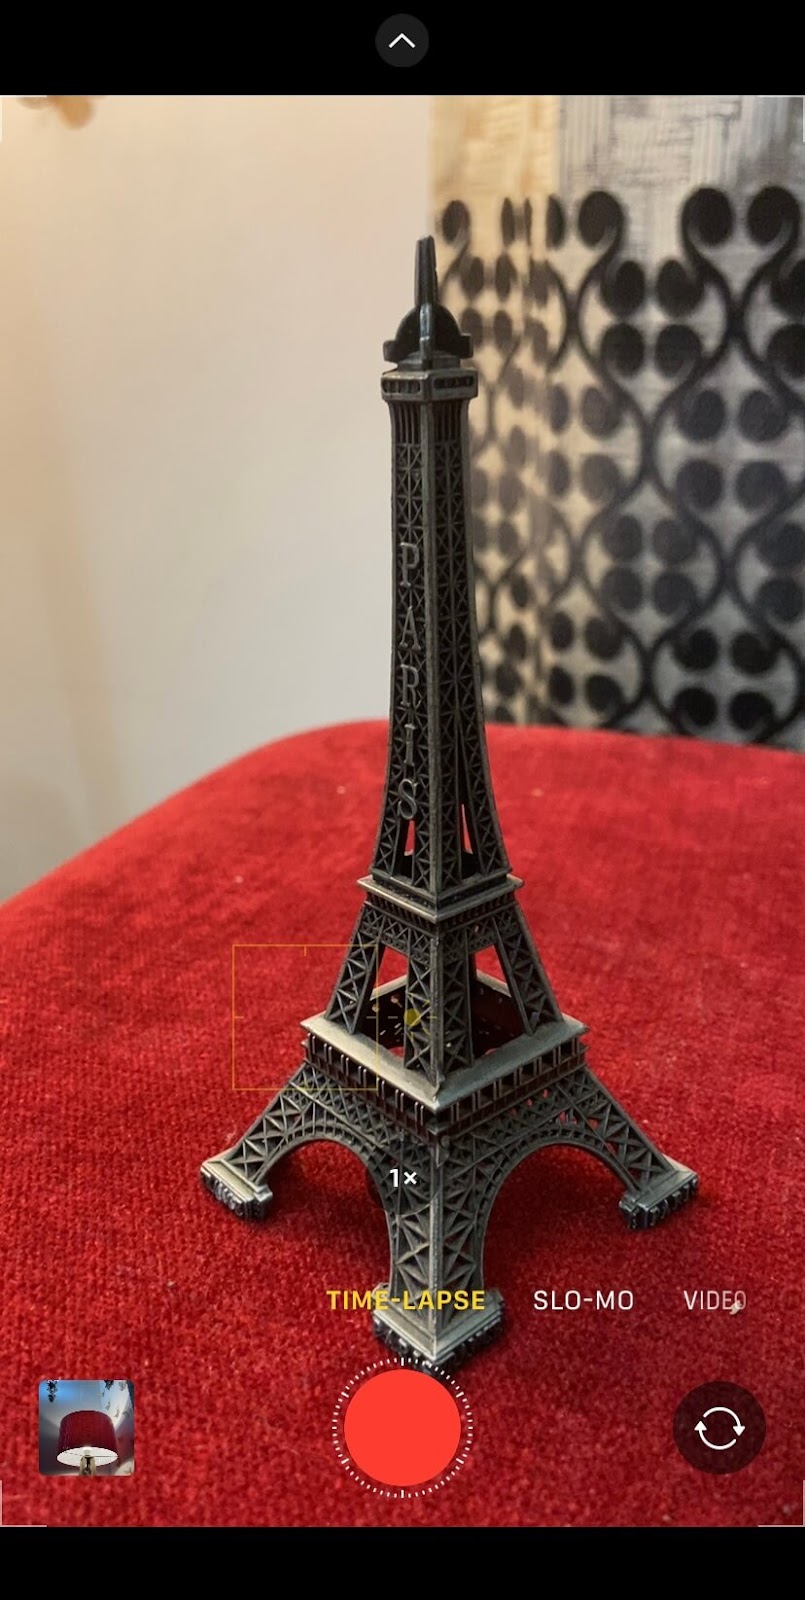
- Now fit or hold your phone at a perfect angle and tap on the red button to start the video. The tricky part here is to keep your iPhone as still as possible while the video is recording.
6. Changing resolution and FPS
Just by changing the resolution and FPS of a video, you can enhance the overall quality of the recorded video. This is how you can make changes in the resolution and FPS.
- Go to your iPhone Settings.
- Select the Camera option.
- Now change the resolution to the highest or somewhat similar. We will recommend you to choose 4K at 60fps which gives ultra HD video with the ability to slow down the video up to 50%.

7. Creating ultra slo-mo videos
Slow-mo videos give a cinematic view to your videos especially when carried out with a sudden effect where a normally moving video changes to slo-mo. You can use the slo-mo option on your iPhone with these steps.
- Open your iPhone camera and swipe to the SLO-MO mode.
- Now click on the center button to start recording the video
- While creating the slo-mo video, make sure to keep the resolution and FPS of the video recording as high as possible to get the best out of your slo-mo recording. You can change the FPS from the top-right corner.
8. Bring photos to life with Live Photo mode
iPhone camera has a live photo mode which captures the whole moment in a different way instead of just taking a still picture. With this feature, iPhone records a series of shots that happens 1.5 seconds before and after you take a picture along with the sound. If you long-press on the live photo, it comes to life showing the moment as a short video. Apart from that, you can apply various effects to live photos such as bounce, long-exposure, and loop.
To take live photos on iPhone, open the Camera app and click on the three-circles icon at the top-right corner on the Photo mode. Make sure to keep your device still for a couple of seconds before and after tapping on the capture button. By default, you will see live photos as still pictures. Tap and hold them to play as a video. To apply a new effect, swipe up the live photo or click on the LIVE option in the upper right corner and then choose the effect you want to use.
- Live – This is set as default in which your photo will play as a video when you long-tap on it.
- Loop – By setting live photos to Loop mode, you can give an awesome boomerang effect.
- Bounce – It makes your live photo play as normal and then in reverse.
- Long-exposure – This applies the motion blur effect to your picture.
You can also edit live photos as you edit normal pictures with the Photos app on your iPhone. Simply, click the Edit option at the top-right corner. You will see various editing tools at the bottom including filters and cropping. There is an additional feature for live photos which allows you to change the key photo (the one you see as a thumbnail).
9. Take stunning long-exposure photos
Have you seen those amazing pictures in which water appears very smooth or night photography with light trails of stars? Such types of photos are called long-exposure in professional terms which are taken at slow shutter speed. The camera shutter is open for a long period which allows more light to enter the camera. This adds more brightness and gives a smooth blur effect to the moving objects in the photo.
Guess what? You can also take those stunning long-exposure photos with your iPhone. This is possible with the Live Photo mode. So basically what you need to do is first take a live photo normally. Make sure to keep your device as still as possible. The more still it is, the more good results you will get. You can also use a mobile tripod for this task. Now once the photo is taken, open it and swipe up or click the LIVE option in the upper left corner. Choose Long Exposure and this will apply an amazing motion blur effect to your photo.
10. Take boomerang videos with an iPhone camera
A boomerang is a burst of photos that plays back and forth to make a loop video. You will be interested to know that you can also create fun boomerang videos with your iPhone camera. Like long-exposure, you can turn live photos into boomerang with a Loop effect. Just take a photo with live mode turned on and then open it in the Photos app. After that, click on the Live option or swipe up the photo and then choose Loop effect. As simple as that!
11. Smooth zoom effect
Sudden zoom-in and zoom-out effects in the videos can give professional looks to your shots. But you need to use the zooming effect very smoothly for that. While recording a video, you will see a zooming wheel right above the play button. If you hold the zoom wheel it will pop open and now you can move your thumb right or left to zoom in or zoom out of the video in a natural smooth way.
12. Use of burst photos
The burst photos feature can come in handy when you have to click a perfect shot of a moving object. It is also a great feature when you need to click your pets or your kid who give a perfect reaction once in a while.
Taking burst photos on iPhone is little trick as there is no direct option available for that. You have to tap on the capture button and then instantly drag it to left side. You will see the count of how many pictures have been clicked at the bottom. To stop the burst mode, simply release the capture button.
After plenty of photos are clicked, you can choose the ones that you need to keep and then easily delete the other photos. To do this, open the burst in the Photos app and tap on the Select option at the bottom. Now select the photos that you like and wish to keep and then tap on the Done to save the changes. The selected photos will be saved separately.
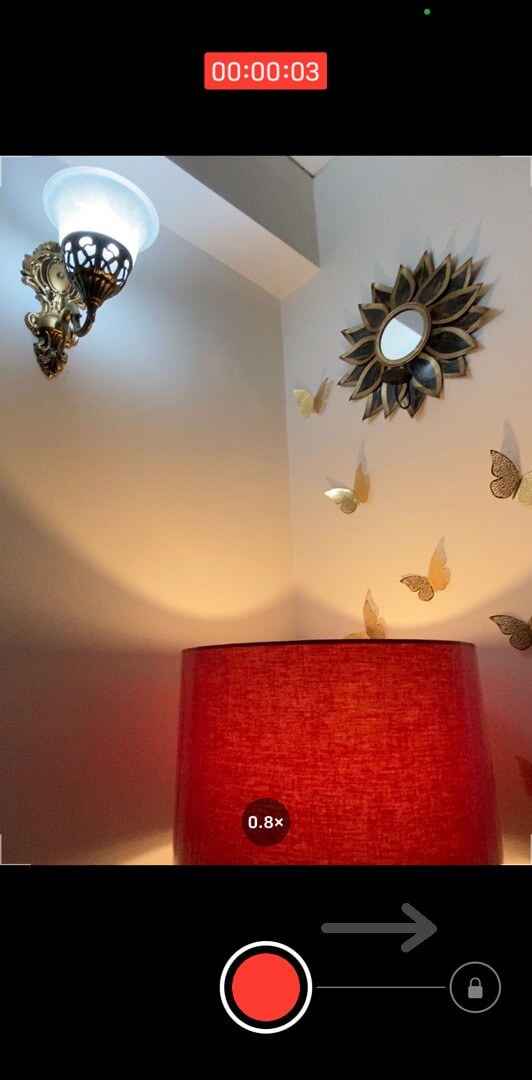
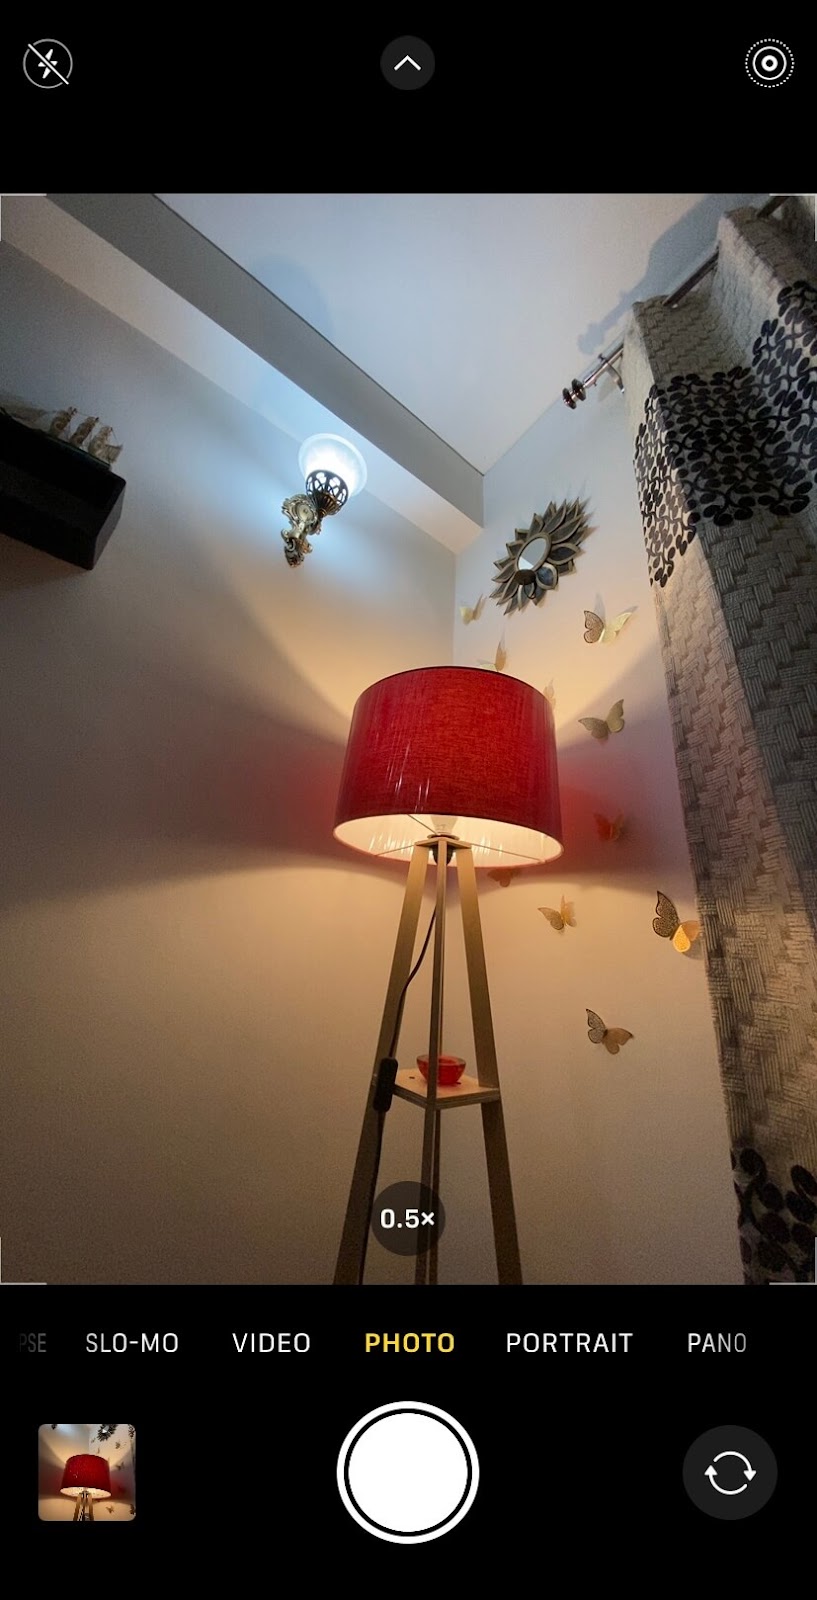
13. Quickly take a video from Photo mode
Let’s suppose you are in the Photo mode and suddenly you want to record a video. Before you switch to the Video mode, you may miss capturing the moment in the meantime. There is a simple iPhone camera trick using which you can directly take a video from the Photo mode. So what you need to do is press and hold the capture button. This will start recording the video instantly. If you want to keep it on hands-free mode, simply drag the button to the lock icon on the right side.
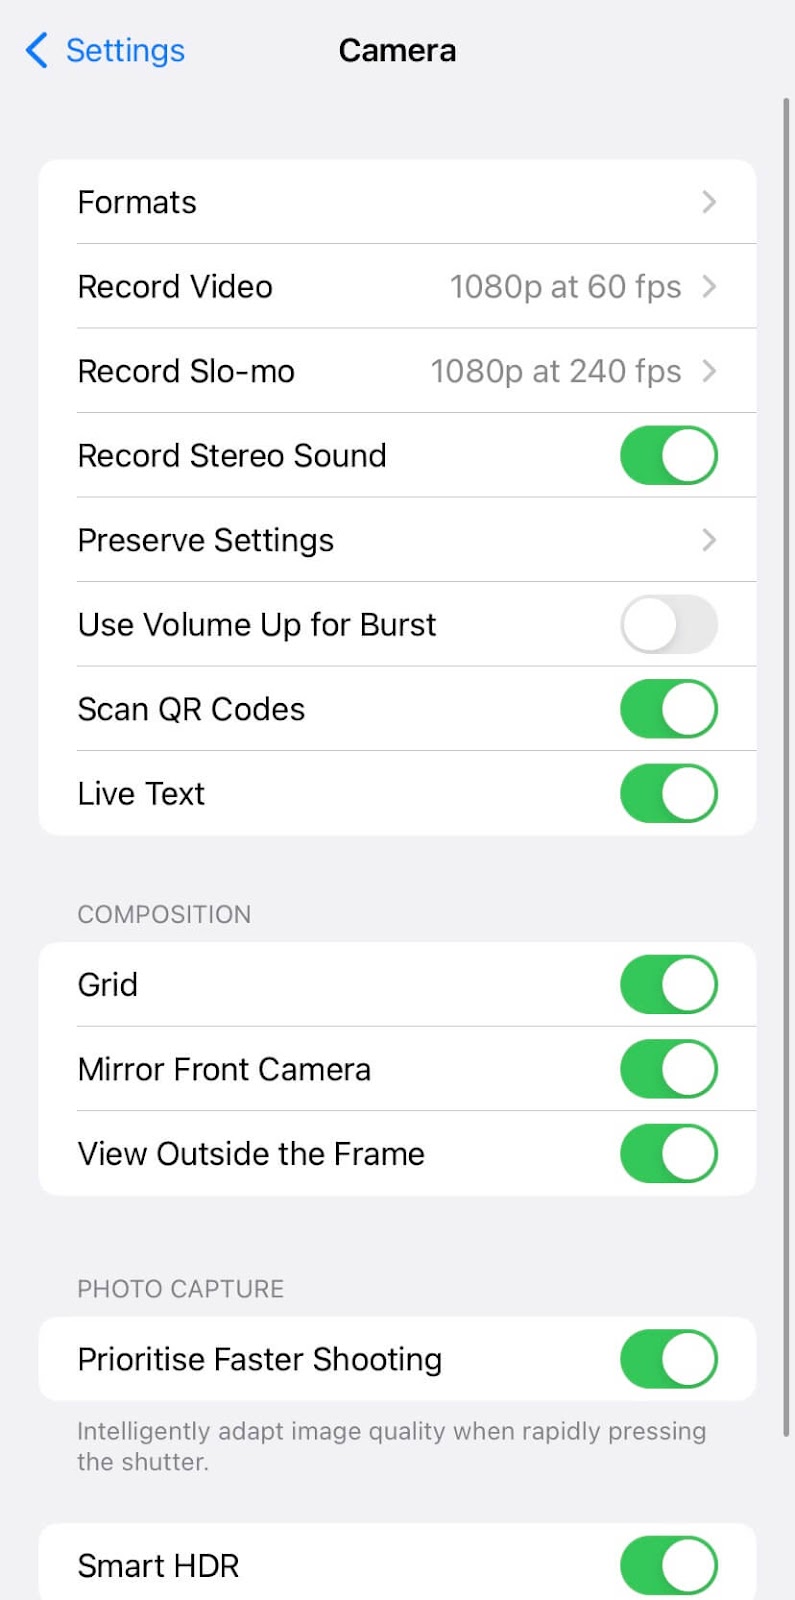
14. Add grid on iPhone camera
If you are a photographer, you would already know about the rule of thirds which allows you to take more eye-catching photos. Most of the time when you take a picture, you don’t consider the alignment on your camera. A perfect photo is one in which objects are geometrically aligned from every perspective. This can be achieved by using grids on your iPhone camera which divides the screen with vertical and horizontal lines into 9 parts. With the reference of these lines, you can easily apply the rule of thirds and align the objects in your picture with the horizon or any other reference point. To enable grids, simply go to the Settings on your iPhone and open Camera. After that, toggle the button next to the Grid option and that’s it.
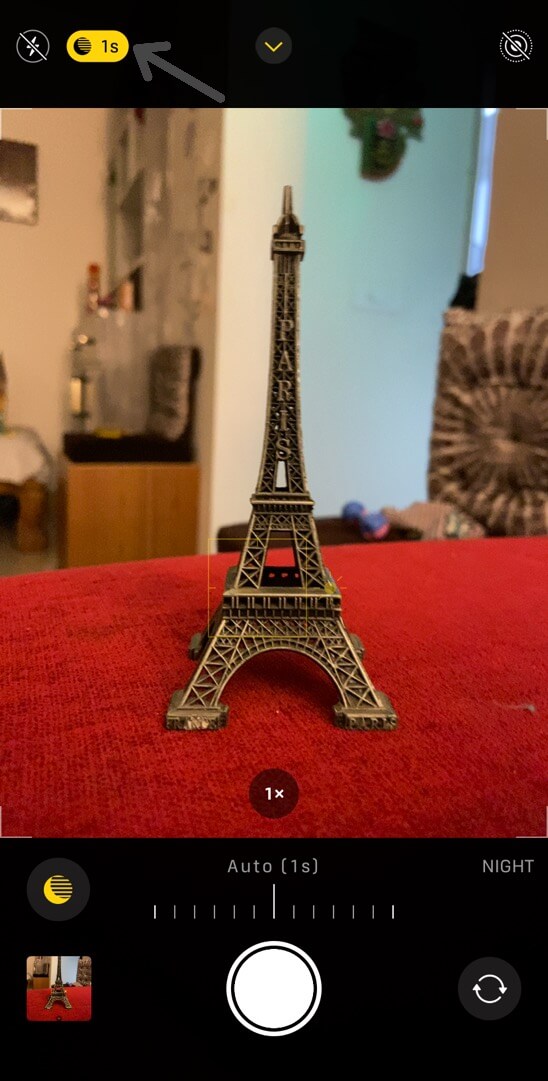
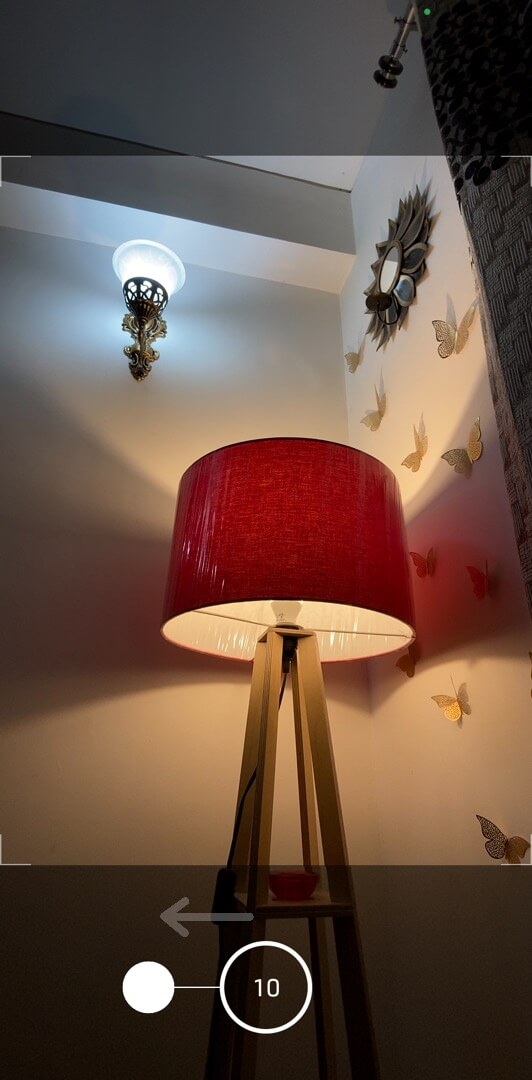
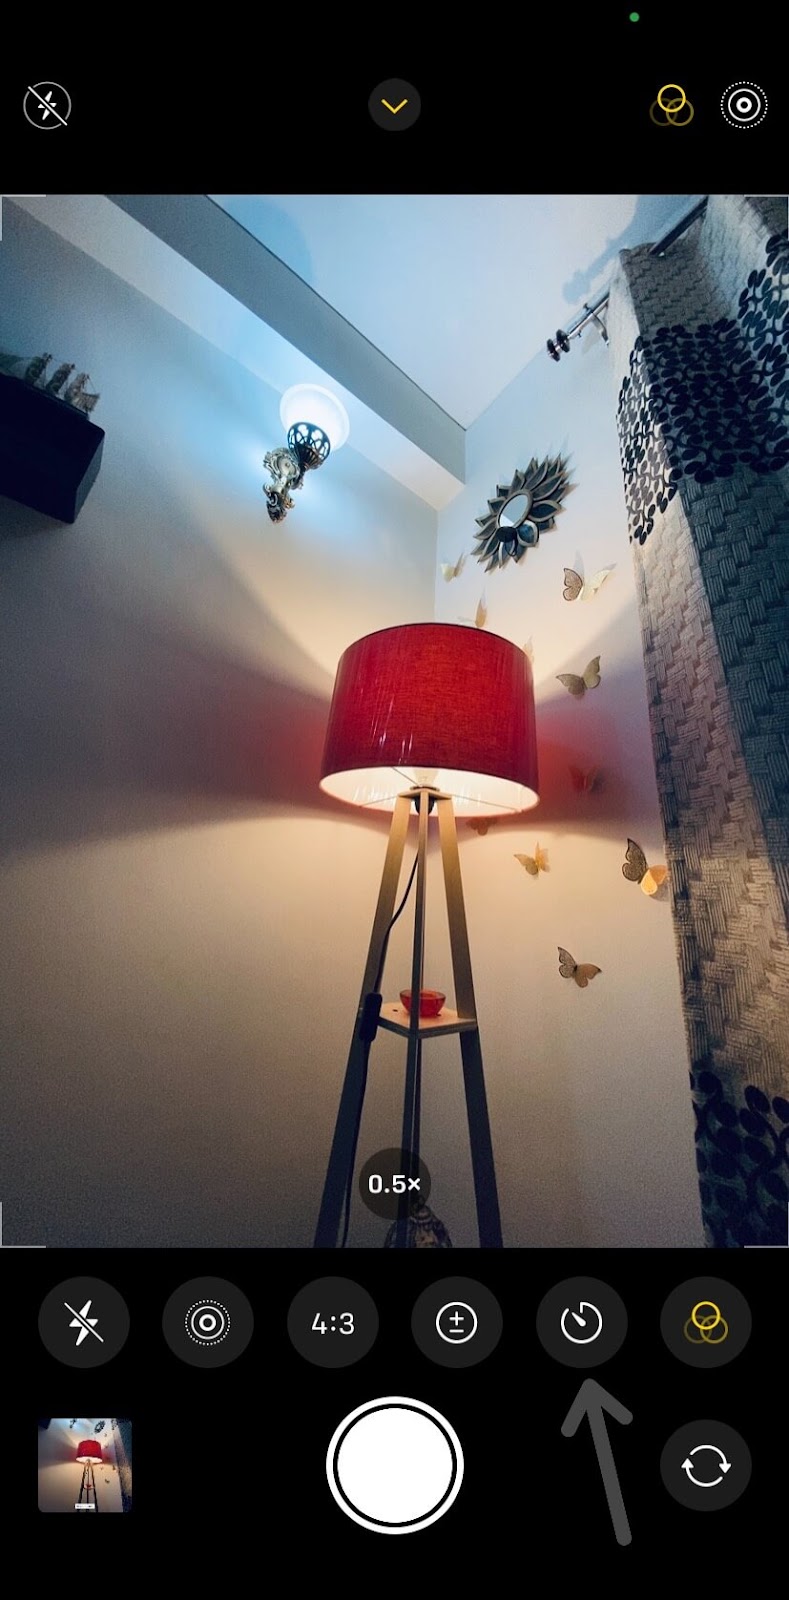
15. Set a timer to take pictures
Does it ever happen that you need to take a picture of your group of friends but has no one around to click it? You can take automatic photos by setting a timer on your iPhone camera. To do this, go to the Photo mode and click the drop up button at the top. This will reveal some options at the bottom. Click on the timer (clock) icon and then set the time period after which you want to take your shot. There are 2 options available: 3s and 10s. Once you have set the timer, put the iPhone at your desired place and fix the camera view as you want the picture to be taken. After that, press the capture button and this will start the countdown. Once it finishes, your iPhone will automatically click the picture.
16. Take wide-angle photos
This is a very simple yet useful trick for users who are new to iPhone. If you have a dual camera on your iPhone, then it has another lens that can take stunning photos and videos in wide-angle. If you don’t know how to switch your camera lens, you need to click on the 1x button on the screen. 1x means that you camera is on normal mode. When it changes to 0.5x, it will switch to wide-angle. The iPhone Pro and Pro Max series also provide telephoto lens for macro photography. In those models, you will find additional 2x option.
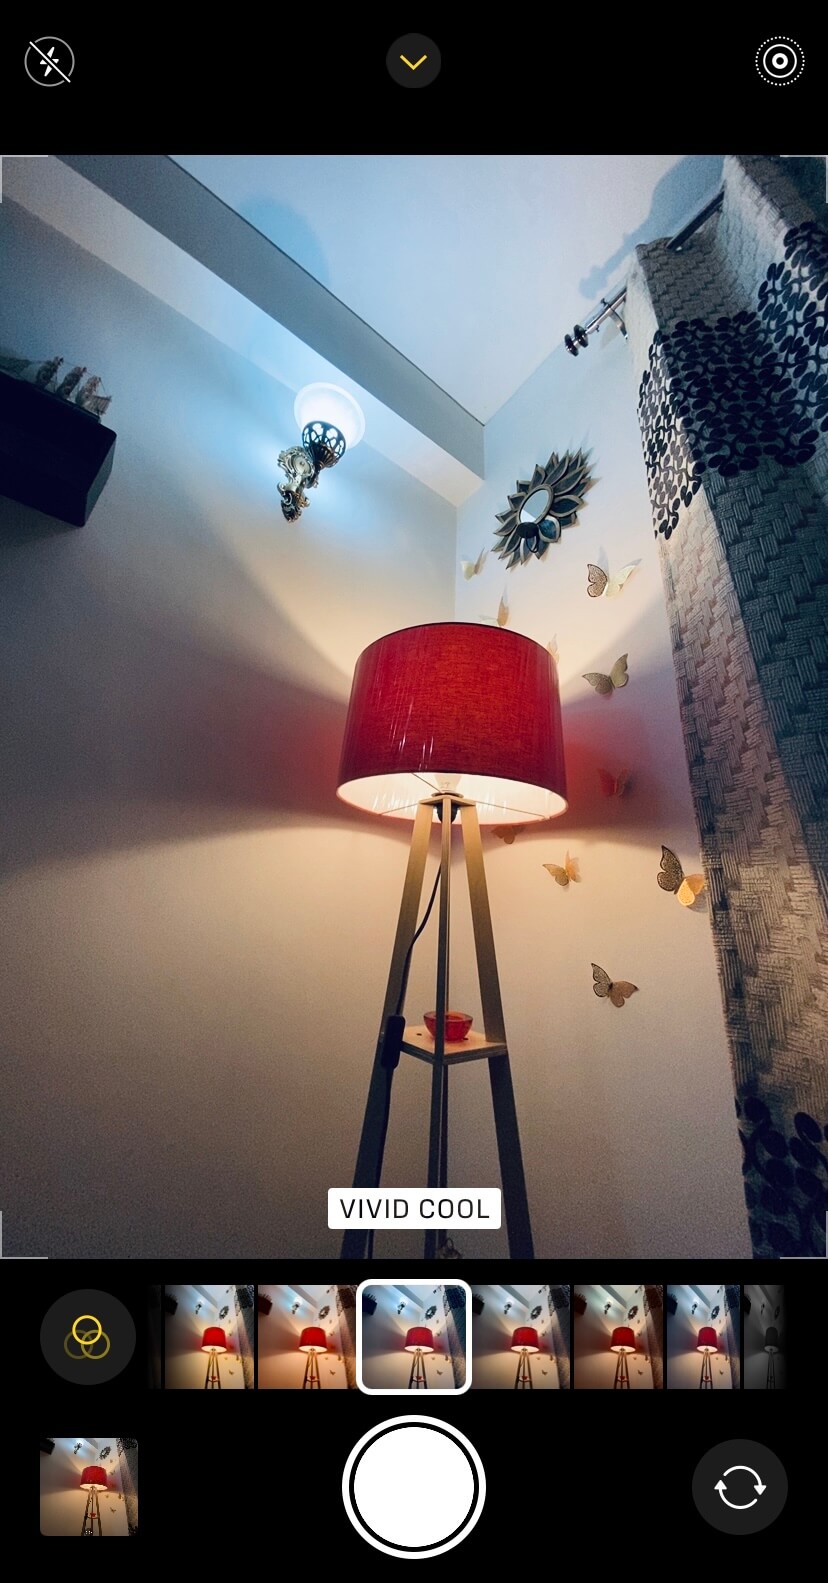
17. Applying filters on live camera
One of the coolest features of the iPhone camera is that it allows you to apply filters at the time when you are talking pictures so you don’t need to edit them later. If you don’t know how to do this, open the Camera app and click the up arrow button at the top to reveal more camera options. Now scroll the tools at the bottom to the rightmost side and there you will find filters option with three circles in a triangle shape. Click on it and then choose the filter you want to use.
18. Copy live text from the iPhone camera
With the new iOS 15 update, a new OCR (optical character recognition) feature is added on the iPhone camera which lets you copy live text to the clipboard directly. Let’s suppose you want to translate a language or convert a physical paper document into editable text form, this feature comes in handy in such cases. To use it, place your iPhone camera on the text you want to scan and then you will see a OCR scanner icon in the bottom-right corner. Just click on it and then you will see the preview of the text. Now select the text you want to copy and save it to Notes or any other app.
19. Preserve the last mode
The iPhone camera is set to Photo mode by default and it opens the same every time. You might want to use another mode such as the one which you have used last time. Luckily, you can do this with a simple tweak in your camera settings. Just go to Settings > Camera on your iPhone and then click on the Preserve Settings option. Now enable the Camera Mode button. When this feature is enabled, your iPhone will preserve the last mode, such as Video, rather than automatically resetting to Photo.
20. Third-party apps for better camera tricks
Despite the fact that there are plenty of features available right inside the iPhonee camera to give you a perfect shot, third-party apps can be used to get your hands on other exciting features for better photography. We have a small list of apps prepared that are best for taking your photography skills to the next level.
iPhone surely has the best camera quality but you might not have the best photography skills. These are some useful tips and tricks that can help you to take mesmerizing photos and get the most out of your iPhone camera. Now it’s time to get your hands dirty and try out these things yourself. We hope you find this guide helpful to learn something new. If you have any questions in your mind, feel free to share them in the comments below.