Instagram never fails to impress us with its magnificent features. And these features are improving with each update. Along with the existing ones, the new features are also being introduced to us with every update. One such exciting feature of Instagram that almost every Instagram user savors is the story feature.
It’s always pleasing to share the story with your followers about what you do in your daily life, updating them on your vacations, or simply sharing something random. But it literally freaks out the people when a beautifully captured photo is ruined by the Instagram story when it gets zoomed in. The automatic zooming of the story feature kills the quality of the photo or the video and sometimes it crops the beautiful detaining on the side of the photo or the video.
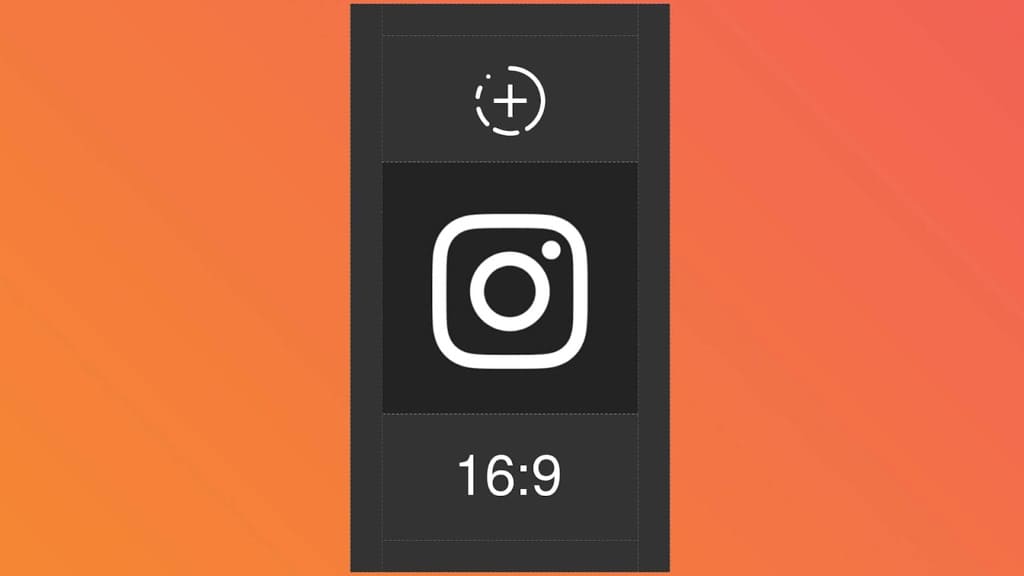
This actually happens due to the wrong aspect ratio of the photo or the video you are trying to share on your story. The Instagram story will perfectly accept a photo that has a 9:16 aspect ratio, and any photo which is not in that ratio will be zoomed. So if the next story you want to share is not in a perfect ratio, here’s how you can correct it.
Table of Contents
1. Pinch to zoom out picture on Instagram
The easiest way to share a photo on your story in its actual size is by using the built-in pinch to zoom feature on the Instagram story editor. Here’s a step-by-step guide:
- Launch the Instagram app.
- Swipe right on the screen in the Home tab. Alternatively, tap on + Your Story at the top. This will take you to the Instagram camera.
- Now swipe up to open the camera roll or gallery.
- Select the photo you want to share on your story. Instagram will automatically crop the picture to fit it in full screen.
- Use two fingers to pinch out the photo until it returns to its original size. The remaining borders will blend with the colors of the photo as shown in the below picture.
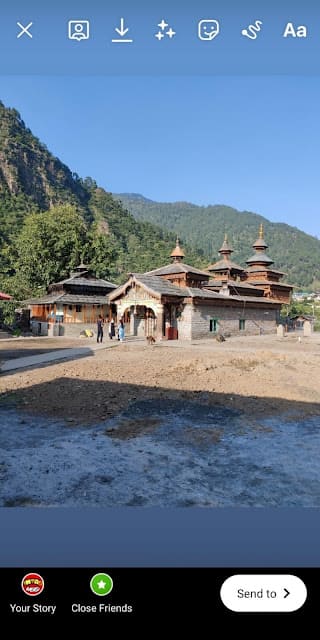
- Now you can share the story as it is in its original size and the detailing on the side will not be missed.
2. Take a screenshot of the photo in gallery
Your own phone gallery hides the solution while you are looking for it outside. To correct the aspect ratio of the photo you want to share on your story, open that photo in your gallery, hide the options that you see like delete and edit, etc by tapping on the screen.
When the borders above and below the picture are black, simply take a screenshot on your device. For Android, press the Power button and the Volume Down button simultaneously.
If you use an iPhone, press the Side button and the Volume Up button simultaneously, then release them quickly. You will hear a shutter sound or see a preview which indicates that the screenshot has been taken.

Now you can share this screenshot on your story instead of the original photo, and you will see that the photo is not cropped from the upper borders. The screenshot will change the photo to a 9:16 aspect ratio which will make it fit in full size on Instagram story.
3. Edit photo to fit in 9:16 aspect ratio
There are third-party apps available on the Play Store that can help you create a perfect size story for Instagram by adding borders at the sides.
Using Croc Photo app
Croc Photo is an all-in-one image resize tool that lets you create full-size photos for Instagram stories and other social media. You can resize your photo in any format or aspect ratio you want. The app provides a handful of tools to customise your photo with different background styles and colours.
- Download and install the Croc Photo app on your smartphone. This app is available for both Android and iPhone users. You can download it for free from the official Play Store (on Android) or App Store (on iOS).
- Launch the Croc Photo app once it is installed successfully.
- On the welcome screen, you will see various different sizes, resolutions, and aspect ratios. Select Story, Reel or 9:16 aspect ratio.

- Now you will be asked to select the photo you want to edit. Find and import it from the Photos or Gallery app.
- Next, select the Background style you want to use. There are different styles available such as Color, Gradient, Photo & Blur, Fade, Pattern, and Prism.

- On the next screen, you can adjust the style settings. For example, if you have chosen Gradient style, you can change gradient color/angle, adjust the border size, add frame to your photo, fade edges, resize your photo, and more.

- Once you are satisfied with your edit, click on Share option in the top-right corner and select Save to gallery. You’re done! Now you can post the full size photo to your Instagram story.
Using InstaSize
InstaSize app is specially made for helping Instagram users create a perfect-sized story, collage, and posts for Instagram. Most importantly, the app is easy to use and is understandable at first glance.
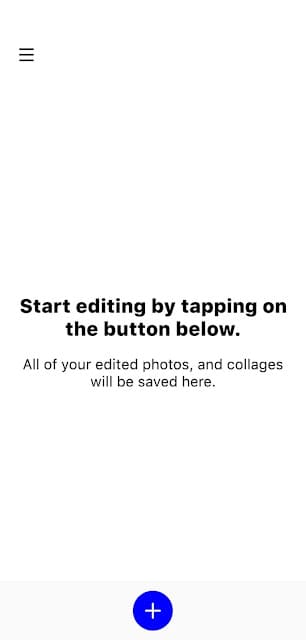
- Download the InstaSize app from the Play Store or App Store and open it. Tap on the plus icon given at the bottom to start editing the photo for your story.
- Now check the box that states that you allow the app to collect data and you are more than 16 years old and then tap on Agree to Continue.
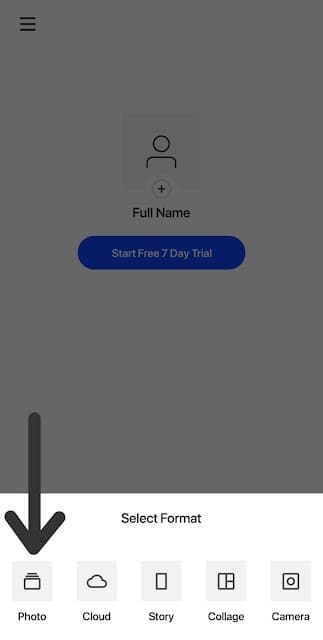
- Now select the photo from your gallery by tapping on the Photo option at the bottom.
- Simply by adding a photo to the app, the border will be added to it just as you want. The border will be added to the right and left sides. Tap on the share option given at the side and save the photo to your phone gallery.

- If you don’t want to add a simple white border then you can choose to add other designer borders on the side. Simply select the option with a square inside a square at the bottom and here you see the list of options to choose from. Some of the borders will be paid, but a lot of options are free to use.

Using Picsart
If you already use the Picsart app on your phone then you don’t need to install any other app for creating an Instagram story compatible photo.
- Open the Picsart app and and select the Background option given at the top.

- Now select any background of your choice. There are a plenty of vivid and alluring backgrounds to choose from.

- Once you are in the editor screen, click on the Tools option and then choose Crop. Now select the Story size from the bottom and it will crop your photo in 9:16 aspect ratio.

- In the next step, select the Add Photo option and choose the photo from the phone gallery that you want to post as your story.

- Now simply extend the photo using the extend option at the bottom right corner of the photo till it reaches both the ends of the background image.
With this you have created a perfect sized photo for your Instagram story using n appealing background at the back.
Tips and tricks for future
Some people might not like to upload the story by adding borders, but as the aspect ratio was not correct, you don’t have any other option except for adding border and then posting it as a story. But you can be careful about it in the future and add the full size photo as story without getting any unnecessary zoom on the photo.
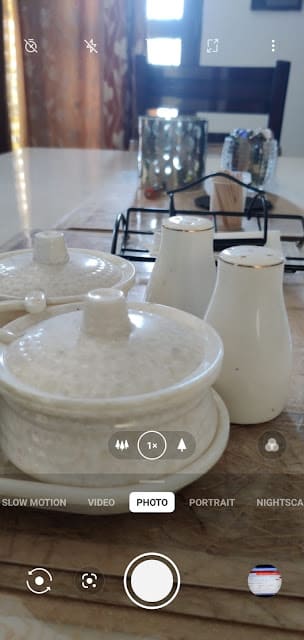
Use Instagram camera to click photos
If your photo is clicked directly through the story camera, you automatically save yourself from the zooming effect of story. And this way, you will keep in mind to keep the important things to show in the centre of the story.
Click photos in full size (19:6 aspect ratio)
Some people might feel that the Instagram story camera doesn’t take good pictures, and they want to avoid using it. In that case, you can use the native camera app of your phone, but instead of using it in 4:3 aspect ratio, click the photo in full size, that is 9:16 ratio. The photos clicked in full size camera will not be zoomed in Instagram story.
Frequently asked questions
The best size for an Instagram story is 9:16 aspect ratio. This means that for a standard vertical story, the ideal size is 1080 pixels in width and 1920 pixels in height.
A full-size Instagram story photo refers to a picture that fits perfectly within the 9:16 aspect ratio, displaying the entire image without any zooming or cropping.
To make a whole picture fit on an Instagram story without cropping or zooming, you can use the pinch-to-zoom feature within the Instagram app or use third-party apps like InstaSize, or Picsart to resize and adjust the image to the 9:16 aspect ratio before uploading it to your story.
Your Instagram stories may appear blurry due to image compression by the platform, which can reduce their quality. To maintain clarity, use high-resolution images that fits in the 9:16 aspect ratio and avoid excessive zooming within the app.
Conclusion
Adding a story to Instagram is easy, but adding a perfect story is hard. There are thousands of tips and tricks that you can use to enhance the looks of your Instagram story. One such tip is uploading the story without zoom because it decreases the quality of the photo and the details might crop out. So it’s better to upload the stories without zoom. If you have any queries, feel free to share them in the comments below.
Read other similar articles:
- How to View Full Size Profile Picture on Instagram
- How to Send Full Size Photos on WhatsApp
- How to Add Full Length Reel on Instagram Story
- How to Post 9-Cut Grid Photos on Instagram
- How to Upload High Quality Photos on Instagram