We don’t update anything just for some new cool features or for the heck of it. Plenty of software bugs and malware get wiped away due to those crucial updates from time to time. This increases the overall usability and user-friendly nature of the entire system, and accounts for greater conversion of a user to a particular platform, say Windows.
When it comes to Windows 10, you can update apps either automatically, manually or use a combination of both of these methods. As for Windows 11, you can update them from Windows Store or from any third party-app. We’ll now go over how to update all your apps on Windows 10 & Windows 11 below.
Firstly, we’ll go over how to enable automatic updates and manually check for updates.
Table of Contents
How to enable automatic app updates
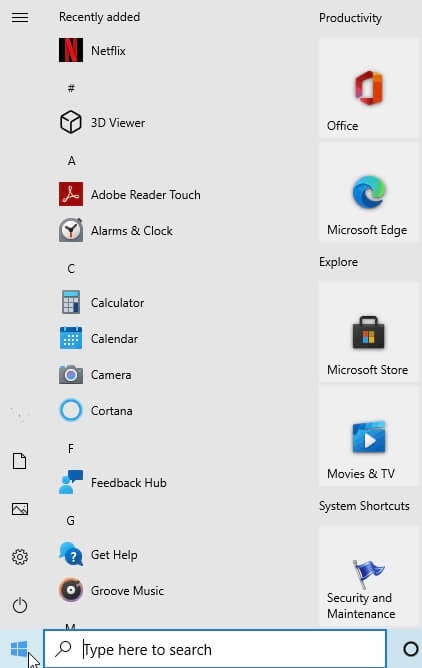
- First open the Windows Store app on your PC/laptop. Go the Start menu and you will find it there. If it
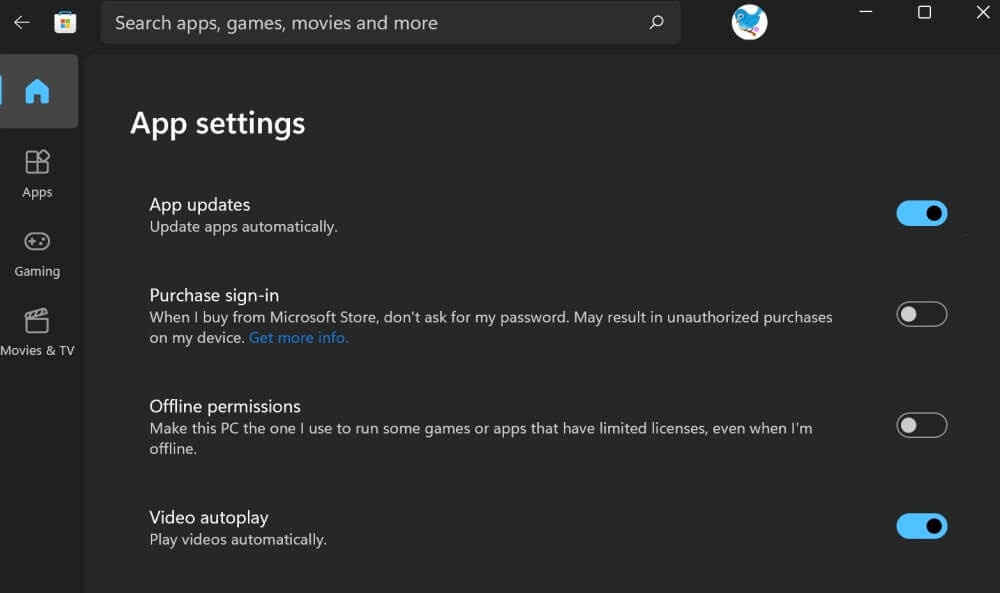
- Tap or click the user icon at the top-right corner, next to the search bar. This should show your profile photo you have set.
- Now tap on App Settings below.
- Toggle on Update apps automatically.
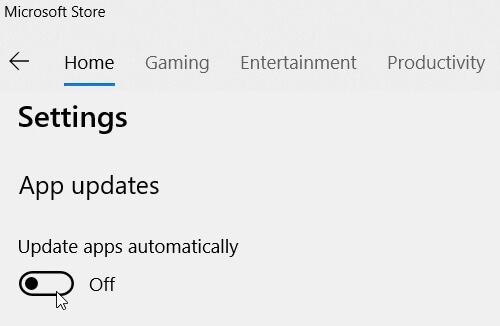
After enabling this feature, Windows will automatically look for new updates of the apps you have installed on your system and update them to the latest version. You don’t need to do anything from your end.
How to manually check for app updates
- Open Windows Store like before by typing it in the Search Bar.
- Tap or click the user icon on top, next to the search bar.
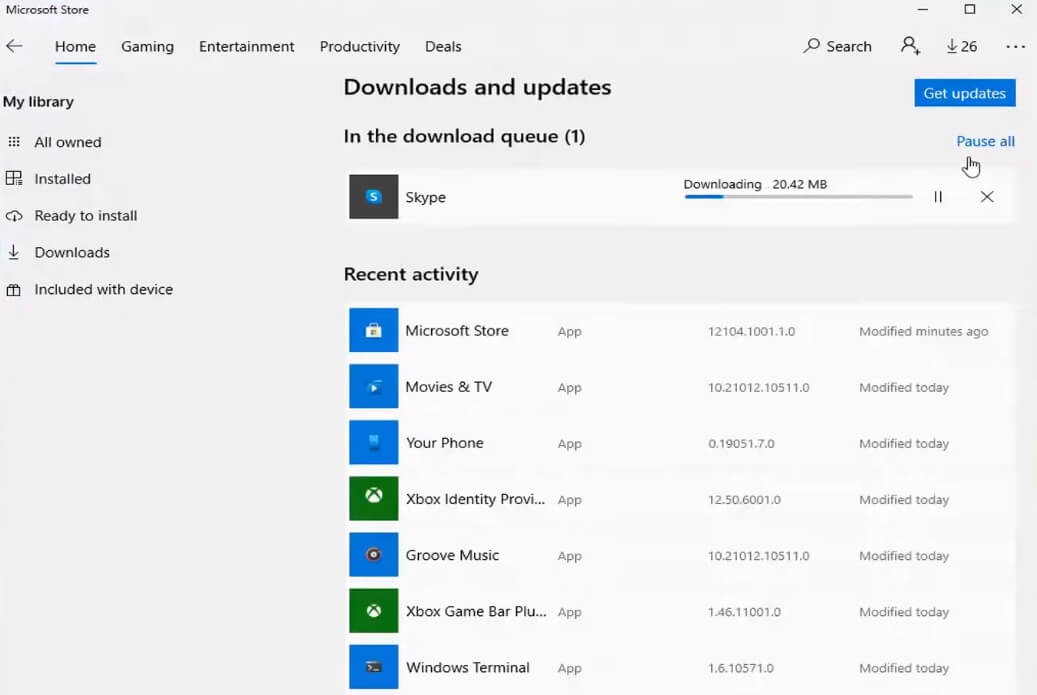
- Tap or click on Downloads.
- Now tap or click on Check for updates.
Manual updates are preferred by users these days as users have become more cognizant of what’s impacting their possessions more than what used to be years back.
Users wanting to know what version a certain app is currently in, if it is a beta version or not, as well as other details before getting down to the brass tacks of actually downloading it, are all the processes a tech-savvy or cognizant users usually goes through in today’s tech-saturated era.
You can also go to My Library from the Search Bar and find the list of all your installed apps to date, also checking whether any app requires an update, thereby subsequently updating them individually from there.
How to update Windows 10 apps manually
Have you disabled automatic updates for your Windows 10 PC because of a slow internet connection or prevention of harmful or unwanted apps being downloaded to your system? You can manually update them from the Windows Store. Here’s a step-by-step guide to do that:
- Open the Windows Store app.
- Click on the three horizontal dots on the top-right corner.
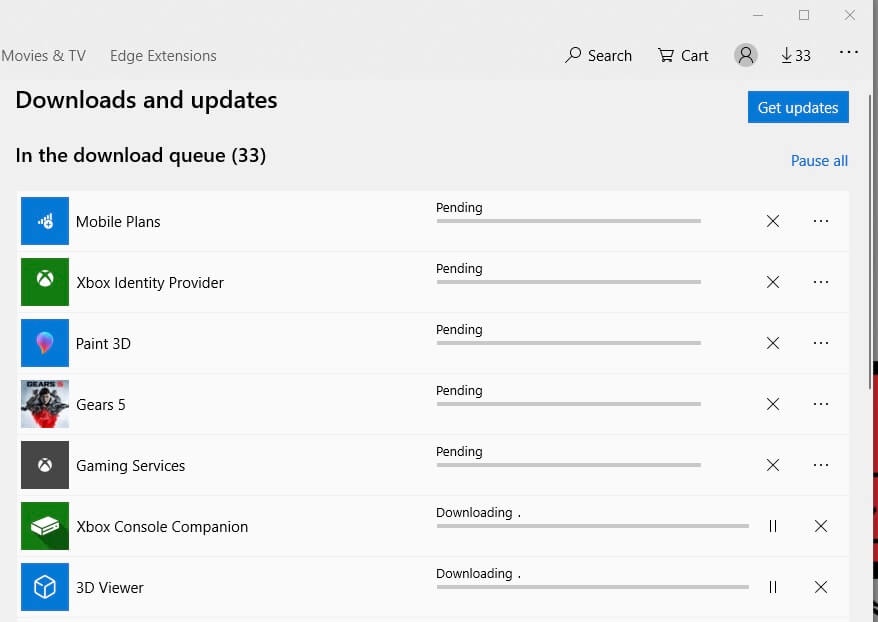
- Now click on Downloads & Updates from the drop-down menu.
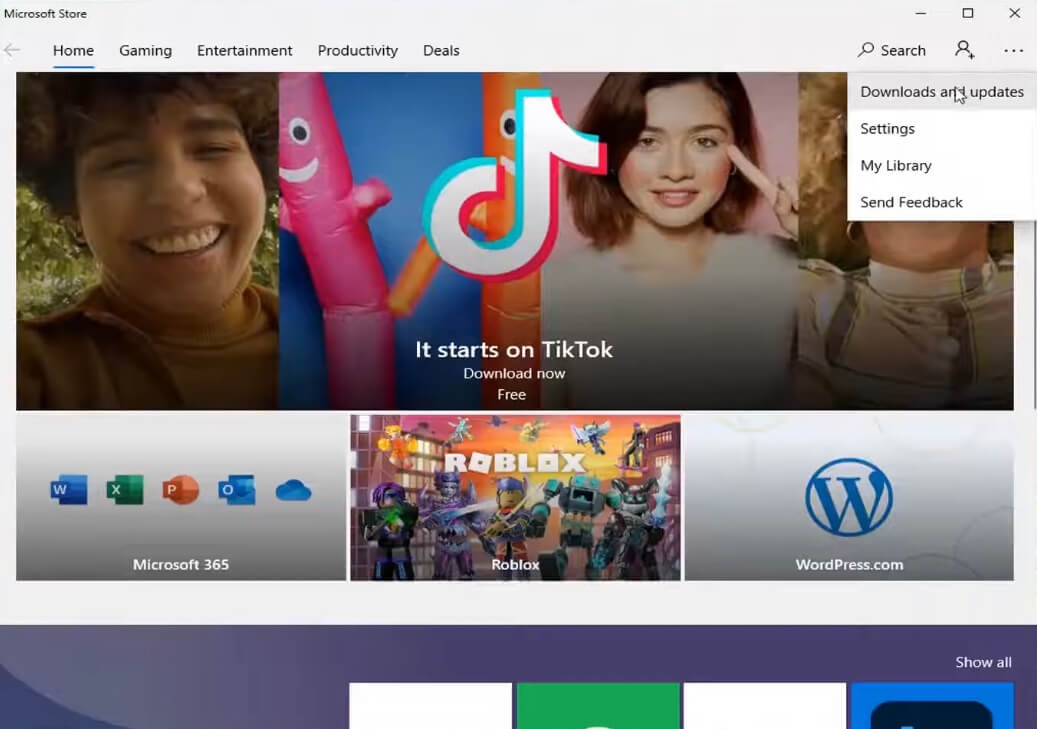
- Click on Get Updates.
- Note that for your system to even detect any new updates for a specific app, your device needs to be connected to the internet with a good bandwidth.
Alternatively you can get the Get Updates option from My Library at the bottom left-hand corner of your screen.
As you click on the Get Updates button, the Windows Store app will look for updates for all the apps you have installed on your system and they will start to update automatically. If your apps are already up-to-date, you will see a message on screen saying “You’re good to go.”
Many apps will show a sign saying that a new version is available, but will not reflect when you have installed it. This is because updates are region-specific and might not have been added to your region in due time. Wait 24 hours before re-installing it again for the new update to show in that case.
You can see the download and installation progress for each app on the same screen where you clicked on the Get updates button. If updates for a certain app is available, you can choose to get them installed and close the Store app in the background as apps continue to get installed.
Update apps on Windows 10 without using Microsoft Store
While Microsoft Store will download and update most apps for you, there are some apps which might not be available on the Store due to various reasons. Maybe you have downloaded them from third-party source or their official website directly. Some apps are designed for the older version of Windows and they are outdated for the current version you are running on. You can search for that particular app on the Microsoft Store and check if it is available there or not. If not, then you can use one of the following methods to update apps like these.
Let app update automatically
Most of the apps will update themselves as long as you have stable Wi-Fi and some will give you pop-up messages asking for you to install them. Check the latest version number of the app from the Internet or the app’s official website and compare it with the version you are running on your system. If they are same then the app is already up-to-date.
Manual check for updates within the app
There are some apps which will feature a link in the menu asking for you to update them. Simply by tapping on the Update button, you will be able to install the latest version of the app. For example, if Chrome browser isn’t updated on your PC, you will see an Update warning message showing at the top-right corner of the browser. You can check the Settings page to find if an app has provided option for update.
Uninstall and re-install the app
Sometimes you are unable to update an app with the previous methods and neither the app is available on the Microsoft Store. In another rare case, some apps doesn’t work properly after you update them. In such cases, you’ll need to delete the app from your system and then reinstall it again. You can download the latest version of the app from its official website or any third-party app store for Windows that you can find on the Internet by searching on Google.
How to manually update apps on Windows 11
You can choose to keep auto-updates off for your Windows 11 PC and update them manually. The steps are almost the same as for the Windows 10. Here’s what you need to do:
- Open Microsoft Store from the Search Bar.
- Now choose Library from the bottom-left side.

- Click on Get Updates to first check for and then install apps either in bulk or individually.
- You can also choose to re-download the apps by first uninstalling them and then visiting the official page of the apps and downloading it from there again.
Enable automatic updates on Windows 11
If your apps aren’t updating themselves on their own, it is advised to turn on automatic updates. For this, go to Microsoft Store and select your profile image on the top-right corner of your screen to find App Settings, and then ensure that App Updates are turned on.
Use a software updater tool
This is essentially a program which functions more or less like Microsoft Store as they scan for any outdated software and immediately let you know. They also provide easy-to-use install button so you can install your apps in bulk. There is a long list of software updater tools available for Windows. We are not going to share the list here but if you are interested to use this method for updating apps on your Windows, you can search for these tools on Google.
Windows Update vs Windows Store
Besides Windows Store, Windows 11 has something called Windows Update. At first glance, you’ll not find much difference between the former and Windows Store. But Windows Update is essentially a program to update the whole of Windows 11’s OS. So basically Windows Store and Windows Update are two different things.
On the Windows Store, you will find new versions of your everyday apps like Netflix, Spotify, Chrome, etc. On the other hand, Windows Update will look for new features and security improvements for the whole OS. Hence it will bode you well to keep your Windows ‘updated’ in general, all the time.
Uninstall unnecessary apps on Windows 10/11
While you are updating apps on your PC, you will come across some apps which you no longer need. You can get rid of such apps by uninstalling them. There are various ways to uninstall apps on Windows 10/11. As for this tutorial, we will be showing you the method of Control Panel. Here are the steps you need to follow:
- Go to the taskbar and search for Control Panel. Select it from the results to open.
- Now click on Programs and then select Programs and Features.
- Here you will see a list of apps and programs you have installed on your system. Right-click on the app you want to remove and then choose Uninstall or Uninstall/Change option.
- Follow the on-screen instructions to complete the uninstallation process of the app and you have done it.

Conclusion
So that’s pretty much everything you need to know about this topic. We hope you have a blast updating all of your necessary apps for your respective Windows OS. Keeping your apps up-to-date is a good practice and you should do it on regular basis. Not only it brings new features to you but also makes your system more secure and bug-free with improved performance. If you have any comments, feel free to put them down onto the comments box below.
![Fix Mobile Hotspot Not Working on Windows 10/11 [Solved]](https://www.geekinstructor.com/wp-content/uploads/2022/01/fix-mobile-hotspot-not-working-windows-10-300x169.jpg)