Most of the issues with an iPhone are minor software issues which can be solved using Recovery mode. But sometimes, iPhones will show major hardware issues and in these times, the DFU Restore method comes very much in handy. Bear in mind that the DFU restore method is the deepest recovery method anyone can use on the iPhone and should be used only as a last resort.
If you think there is a serious hardware issue with your phone, and aren’t quite ready to take it to the Apple store and splurge on the repair amount, DFU Restore is the best method for you out there. Other tech geeks would try to jailbreak their iPhones to fix this issue, but if you’re not one of them, this method is the right one for you.
Table of Contents
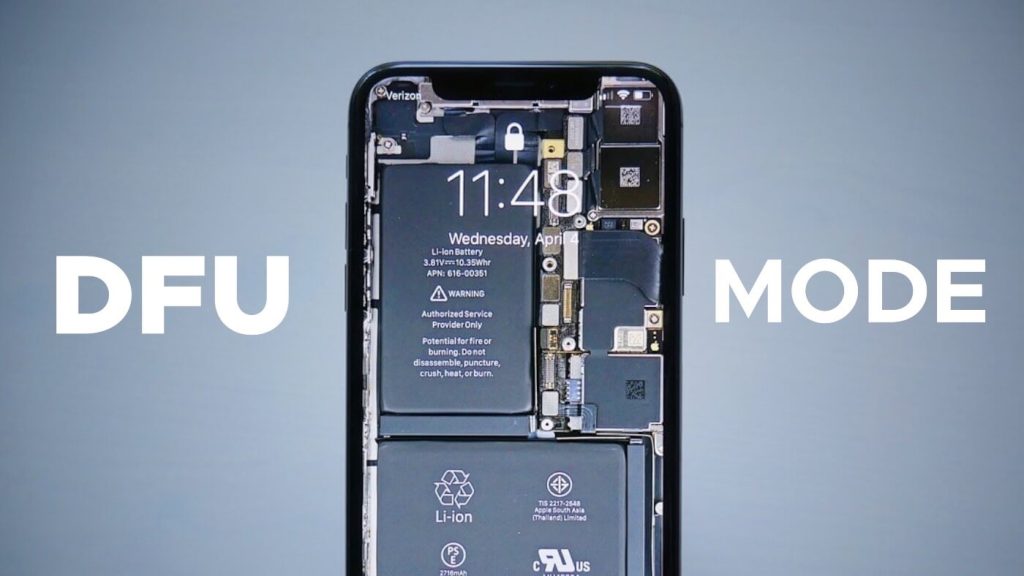
What is DFU mode on iPhone?
DFU (short for Device Firmware Update) is simply the state your iPhone or iPad can be put into to recover and get your device back in order. It’s similar to the BIOS state on Windows or Recovery mode on Mac.
Using the DFU mode, you can switch to a different iOS version, or even jailbreak/un-jailbreak your iPhone.
Whether you currently have the iPhone 6 or the iPhone 13 Pro Max, DFU is a last-ditch method to get your iPhone back in good shape. This is because in DFU mode, your iPhone can still communicate with iTunes on Windows or Finder on Mac allowing you to restore it but will not be able to activate the bootloader or iOS.
Getting your device in DFU mode can be a little bit of a challenge as it requires precise timing. Nevertheless, we have detailed the process to get your device in this mode for iPhone versions till date.
Does DFU recovery delete your iPhone data?
Going into DFU will completely erase the entire memory of your iPhone. Hence, if you don’t mind your data getting erased, go ahead with the process. Otherwise, it is recommended to take a clean backup of your phone before going into this mode.
Precautions to take before:
- DFU Mode will completely erase your data, including photos, videos, chat messages, app data as well as your phone’s current settings. Hence a Backup is recommended before you proceed with the method.
- Make sure to have the latest version of iTunes or macOS installed on your system. Otherwise your device won’t be recognised by them.
- Make sure to have your device connected at all times to your system when the recovery and re-installing process is underway. One loose connection or your system getting conked off means all the data restored up until then would be wiped off and would lead to serious boot issues.
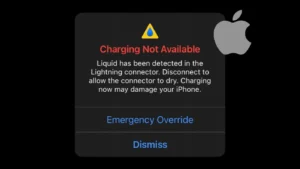
- This method doesn’t work with water-induced iPhones.
- Using DFU restore will void your warranty and may cause damage to your phone’s internal parameters.
How to use DFU mode on iPhone
Depending on which version of iPhone you’re currently using , a set of different key combinations are required to enter the mode and start the restore. We have all the information for all iPhone models below:
Entering & exiting DFU mode on iPhone 8, X or later
The below instructions are for iPhone 8, iPhone X, the new iPhone 11/12/13 series and iPhone SE (2nd generation):
- Connect your iPhone to your system using a USB cable and keep the iTunes (on macOS Mojave and Windows PC) or Finder app (on macOS Catalina and later) open on your system for detection.
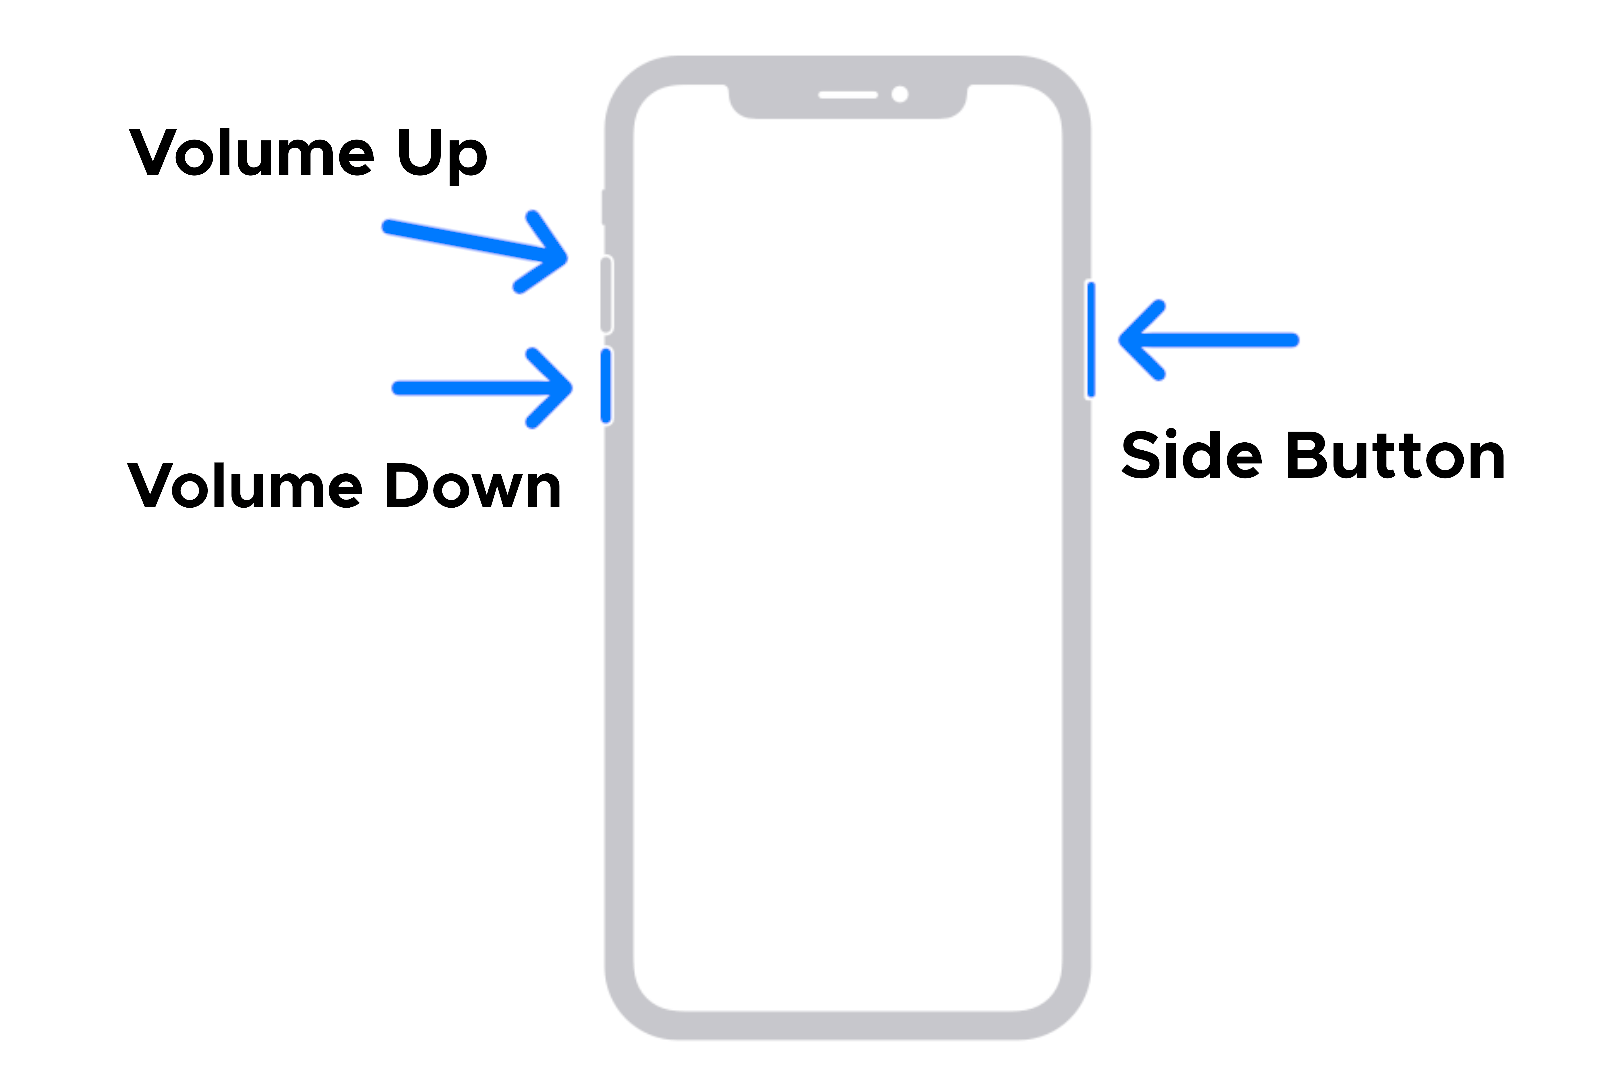
- Now on your iPhone, quickly press the Volume Up button and release.
- Then quickly press the Volume Down button and release.
- Now hold down the Side button until the screen goes black. Thereafter, hold down the Side + Volume Down button together.
- Hold the above for 5 seconds and then release the side button while continuing to hold down the Volume Down button. If the Apple logo appears, the side button was held for too long. In that case, retry again.
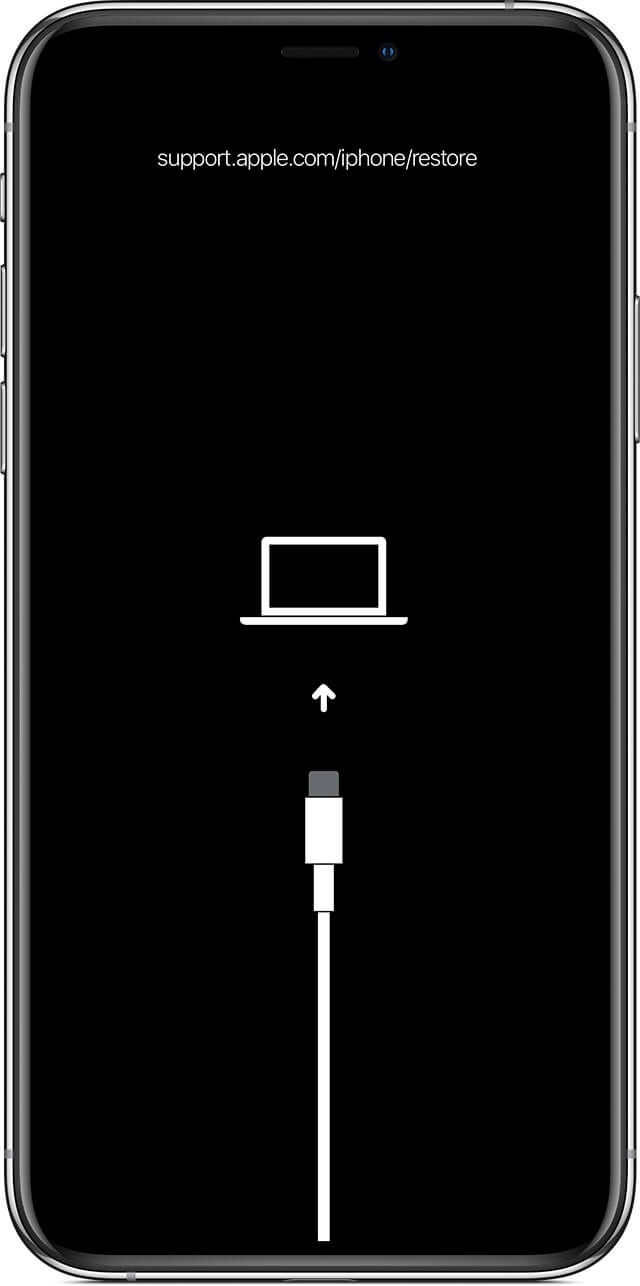
- Note that in DFU mode, nothing will be displayed on your screen. If your iTunes is open, it will alert you that a device has been detected. You will see a message on your screen saying “Your Mac has detected an iPhone in recovery mode. You must restore this iPhone before it can be used.”
- After iTunes/Finder detects your device in DFU mode and shows the same message, release the Volume down button.

- Now click on Restore iPhone to install a new iOS version. Wait until the process is completed and you will get your iPhone restored and updated at the end.
For exiting DFU, quick press the Volume up button first, then subsequently the Volume down button, and then hold the side button as long as it takes for the device to reboot.
Entering & exiting DFU mode on iPhone 7 & 7 Plus
For iPhone version 7 and below, the steps for DFU Recovery are pretty much the same as above, but with a few changes in button combinations. Read on to find out how to go into recovery mode for the earlier versions:
Connect your iPhone to the system and have iTunes/Finder open. For the first 5 seconds, hold the Power button and Volume Down button together until the screen goes black. Let go of the Power button while continuing to hold down the Volume down button.
iTunes will show a message on your system saying that it has detected a device on your system. If the Apple logo shows on your screen like the previous step, you’re not in DFU mode. Retry the steps to make the screen go black/blank. Once the message appears, you can let go of the Volume down button and click on Restore iPhone on your system.
For exiting DFU mode on iPhone 7 & iPhone 7 Plus, hold down the power and volume down button until such time the device reboots.
Entering & exiting DFU mode on iPhone 6S or earlier

Connect the device to your system and have iTunes/Finder open just like in the previous versions. Hold down both the Home & Lock button for around 8-10 seconds. After 8 seconds elapses, release the lock button whilst continuing to hold the Home button.
Note: If the Apple logo appears, you’ve probably held the lock button for too long. Repeat the process again in that case. If iTunes detects your phone, you’ll receive a message for the same and will be asked to Restore iPhone. You can let go of all the button after iTunes detects your phone.
For exiting DFU on iPhone 6s and older models, hold down the Home & Lock button until the device reboots.
Difference between DFU mode and Recovery mode
For Recovery mode however, you are letting iTunes take charge completely here and letting it install the latest OS version to your phone without you having a say in it.
DFU is essentially connecting your iPhone to iTunes without iTunes automatically loading the latest OS version to it (there is no iBootloader involved here if someone wants to jailbreak). Hence under DFU, you can choose which version of iOS you want to install, be it the latest version or a version prior to that.
Note that for both methods, you will lose any and every data on your iPhone regardless of whether you have created an earlier backup. Hence it is recommended that you take a backup for each method.
When should you go for DFU method?
Since DFU is exactly similar to BIOS on Windows or Recovery mode in Mac, it is pretty much understandable that if your iPhone has ran into serious hardware issues, DFU is the way to go. It is also used as a last resort even after recovery method fails, as there are other more simpler methods to follow if the issue is just a minor software one. If it is a hardware issue on the other hand and none of the easier methods prevail, DFU is the only way out. Here are some examples where you can use DFU mode to recover your Apple device:
Bottom line
A DFU restore is a very powerful and quick restore for your iPhone, and should be considered only as the last-ditch effort for a device in need of one. However, note here that a DFU restore might not work all the time as some phones might have some hardware issues which require expert attention.
In that case, you should consider visiting the Apple Service Center and getting your device repaired/replaced. We hope you could fix your iPhone using the DFU Restore method and if you have any comments, feel free to add them in the comments box below.