Do you want to take a screenshot on your Android device from a PC? Capturing screenshots is a fundamental task for many users, whether for sharing information, troubleshooting, or documenting app behavior.
While most Android devices offer built-in methods for taking screenshots, using Android Debug Bridge (ADB) commands provides a versatile and powerful alternative, especially for developers and advanced users.
This article will guide you through the process of taking screenshots on Android using ADB commands. Without further ado, let’s get started!
Table of Contents
What is ADB?
ADB, or Android Debug Bridge, is a command-line tool that allows communication between a computer and an Android device.
It facilitates various tasks such as installing and debugging apps, accessing the device shell, and capturing screenshots.
Android Debug Bridge (ADB) provide a powerful way to capture screenshots on your Android device directly from your computer using a simple command.
Prerequisites
Before proceeding, make sure that you have the following:
- An Android device connected to your computer via USB debugging enabled.
- ADB installed on your computer. You can download the Android SDK Platform Tools, which includes ADB, from the official Android developer website.
Enable USB Debugging on your Android device
Before proceeding with the steps, first you have to enable USB debugging on your Android device. This feature is available within the Developer Options on Android which is hidden in your device settings by default. Here are the steps you need to follow:
- Open the Settings app on your Android device.
- Scroll down and tap on “About phone“.
- Find the “Build number” entry and tap on it multiple times (usually seven times) until you see a message saying “You are now a developer!“.
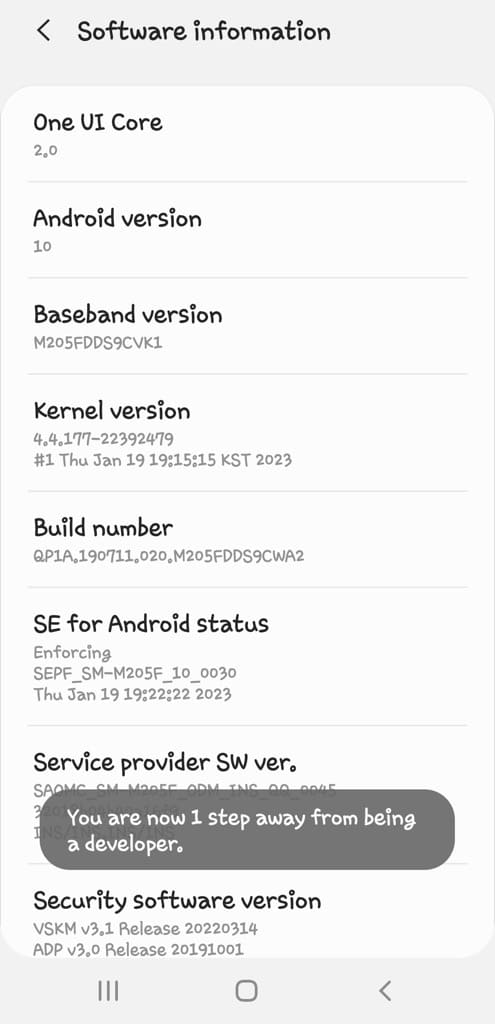
- Go back to the main Settings screen and now you will see a new option called “Developer options”.

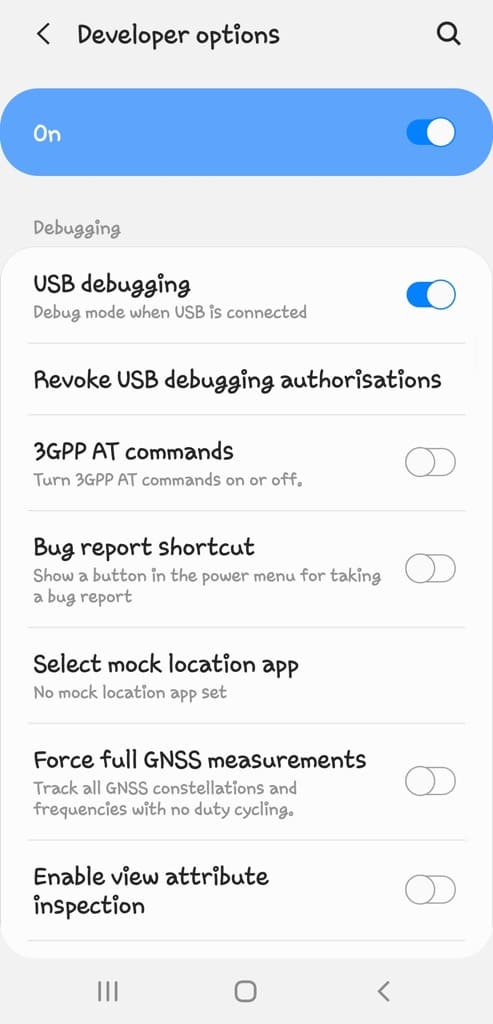
- Tap on “Developer options” and toggle on the switch at the top to enable it.
- Scroll down and find “USB debugging” Switch on the toggle button to enable it. You might also need to confirm your action by tapping “OK” on the prompt that appears.
Take a screenshot on Android using ADB commands
Once you have enabled USB debugging in the developer options settings on your Android phone, follow these steps to take a screenshot from your PC using ADB command:
- Connect your Android device to your computer via USB cable. If it’s the first time connecting to this computer, you might need to authorize the connection on your device.
- Open a terminal window or command prompt on your computer.
- Navigate to the directory where ADB is installed. If you have added ADB to your system PATH, you can skip this step.
- Enter the following command to verify that your device is properly connected:
adb devices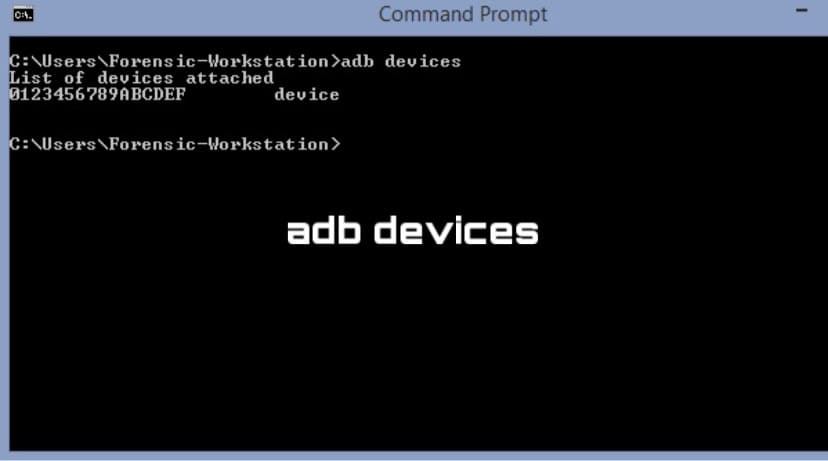
- Once your device is recognized, use the following command to take a screenshot:
adb shell screencap -p /sdcard/screenshot.png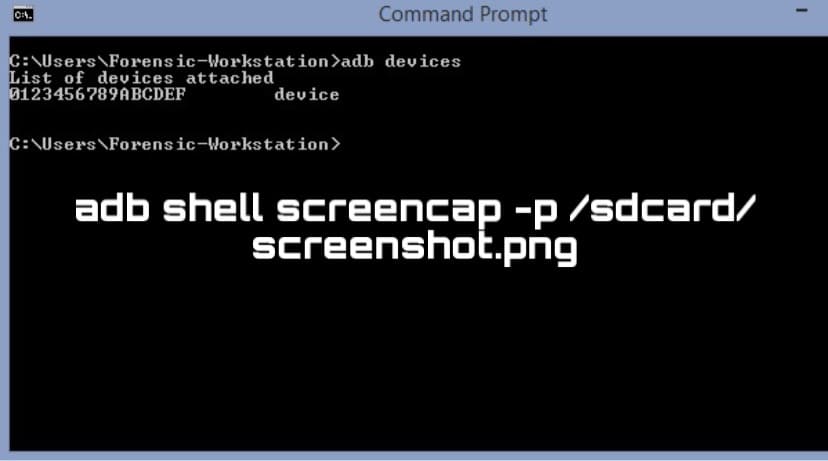
- After executing the command, the screenshot will be saved to your device’s SD card storage. You can access it using a file manager app or by transferring it to your computer using this ADB command:
adb pull /sdcard/screenshot.png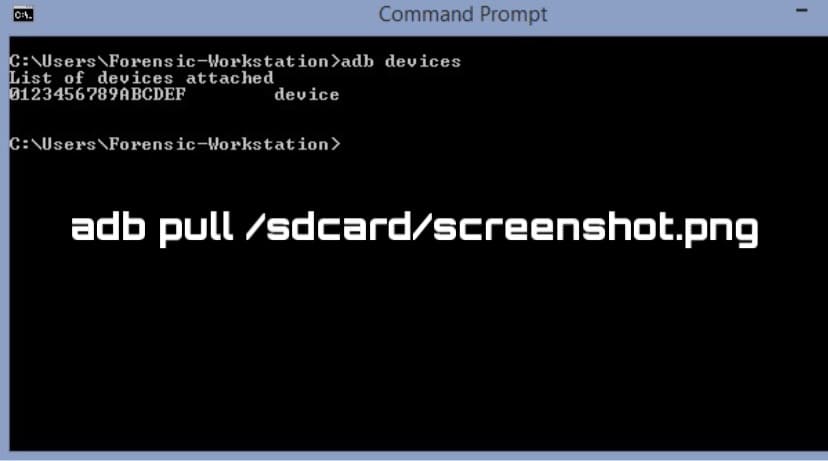
- Once you have retrieved the screenshot, you can disconnect your device from the computer.
You can also customize the filename and change the location of the screenshot by modifying the path in the adb shell screencap command. We have used PNG format here, however, you can use JPG as well. Sometimes JPG format does not work on some devices.
How to screen record on Android using ADB commands
You can also record the screen of your Android device using ADB commands in the same way. The steps are almost the same. The only change here is to use the screenrecord command instead of screencap followed by the desired filename. Follow these simple steps:
- Connect your Android device to your computer via USB. Make sure USB debugging is enabled on your Android device.
- Open a command prompt or terminal window on your computer.
- Navigate to the directory where the Android Debug Bridge (ADB) is installed.
- Run the following command to start screen recording:
adb shell screenrecord /sdcard/yourfilename.mp4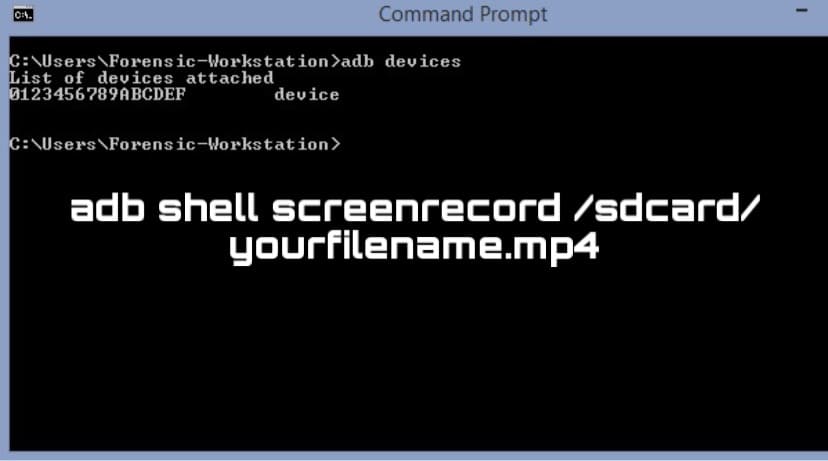
Replace “yourfilename.mp4” with the desired filename for your recording. - Press Enter to execute the command. This will start recording the screen of your Android device.
- To stop the screen recording, press Ctrl + C in the command prompt or terminal window.
- Once you’ve stopped the recording, you can find the recorded video in the /sdcard directory of your Android device.
- To transfer the recorded video to your computer, use the following command:
adb pull /sdcard/yourfilename.mp4 path/to/save/locally
Replace “yourfilename.mp4” with the actual filename you specified earlier, and “path/to/save/locally” with the directory on your computer where you want to save the video.
That’s it! You’ve now successfully screen recorded using ADB commands.
Summary
By using a few simple ADB commands, you can easily capture a screenshot and record the screen of your Android device directly from your computer. We hope you find this guide useful. Let us know what you think of this unique method of taking a screenshot using ADB. If you have any questions in your mind, feel free to share them in the comments below.
Read other similar articles:
- How to Take a Screenshot on iPhone: 6 Ways
- How to Take a Screenshot on Android Phone
- How to Take Screenshot of WhatsApp View Once Photos
- How to Fix Can’t Take Screenshot Due to Security Policy
- How to Save View Once Photos and Videos on WhatsApp


