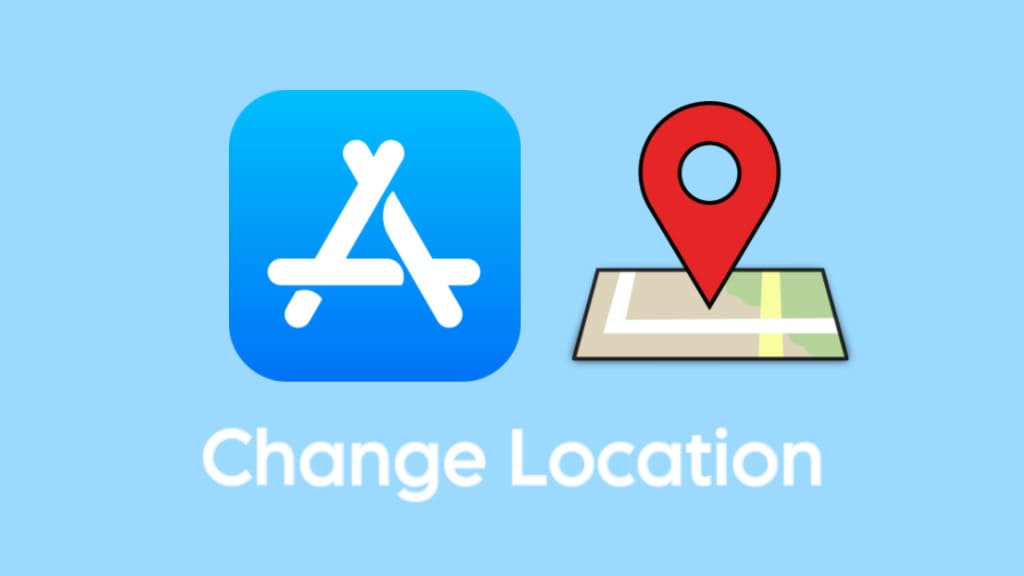
Do you want to change the App Store country on your iOS device or MacBook? This might become necessary if you’ve moved to a different region or you simply want to download certain apps and games that are unavailable in your current location.
While you might consider using a VPN to change your device’s location to a different country, it’s important to note that this doesn’t work with the App Store, since your location is tied to your Apple ID.
Although changing your App Store country might seem a bit complex, it’s relatively straightforward once you know the steps. In this guide, we’ll walk you through the process of changing your App Store country on your iPhone, iPad or MacBook.
Table of Contents
Things to know about changing your App Store country
Before you change your country in the App Store, it’s important to be aware of the following conditions:
- You may need to update your payment information to a method that is valid in the new region.
- It’s important to note that some apps may not be available in the new country due to geo restrictions.
- If you’re subscribed to any services through your Apple ID, cancel these subscriptions and wait until the end of the current subscription period.
- Make sure you don’t have any remaining balance tied to your Apple ID. Spend all your store credit, as it can’t be transferred across different country accounts.
- Your App Store country is tied to the region associated with your Apple ID. This means any changes you make will be reflected across all services and devices connected to your Apple ID.
How to change App Store country on iPhone
Here’s a step-by-step guide to help you change your App Store country on your iPhone or iPad:
- Open App Store on your iOS device.
- Tap on your profile icon in the upper-right corner.
- Next, tap on your Apple ID at the top. This will take you to the Account Settings page.

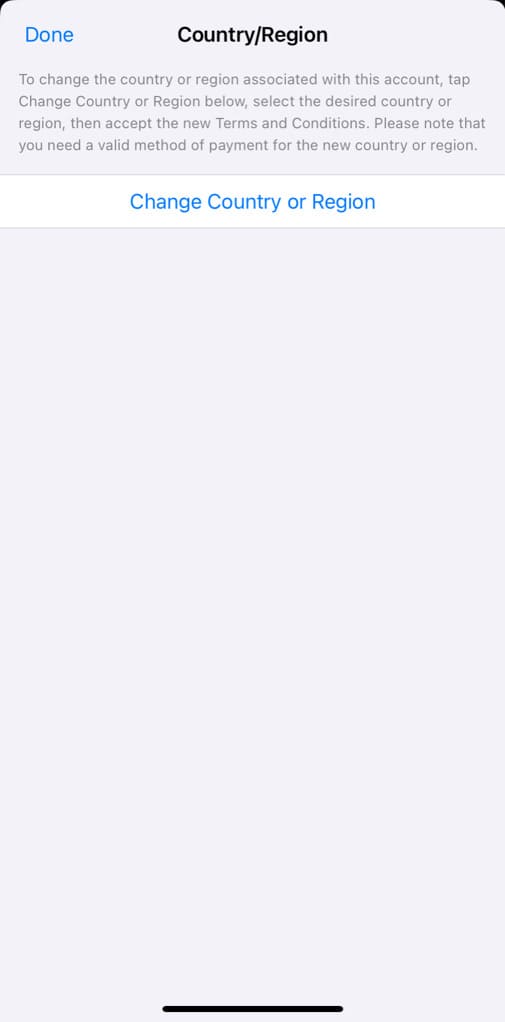
- Tap on “Country/Region” option.

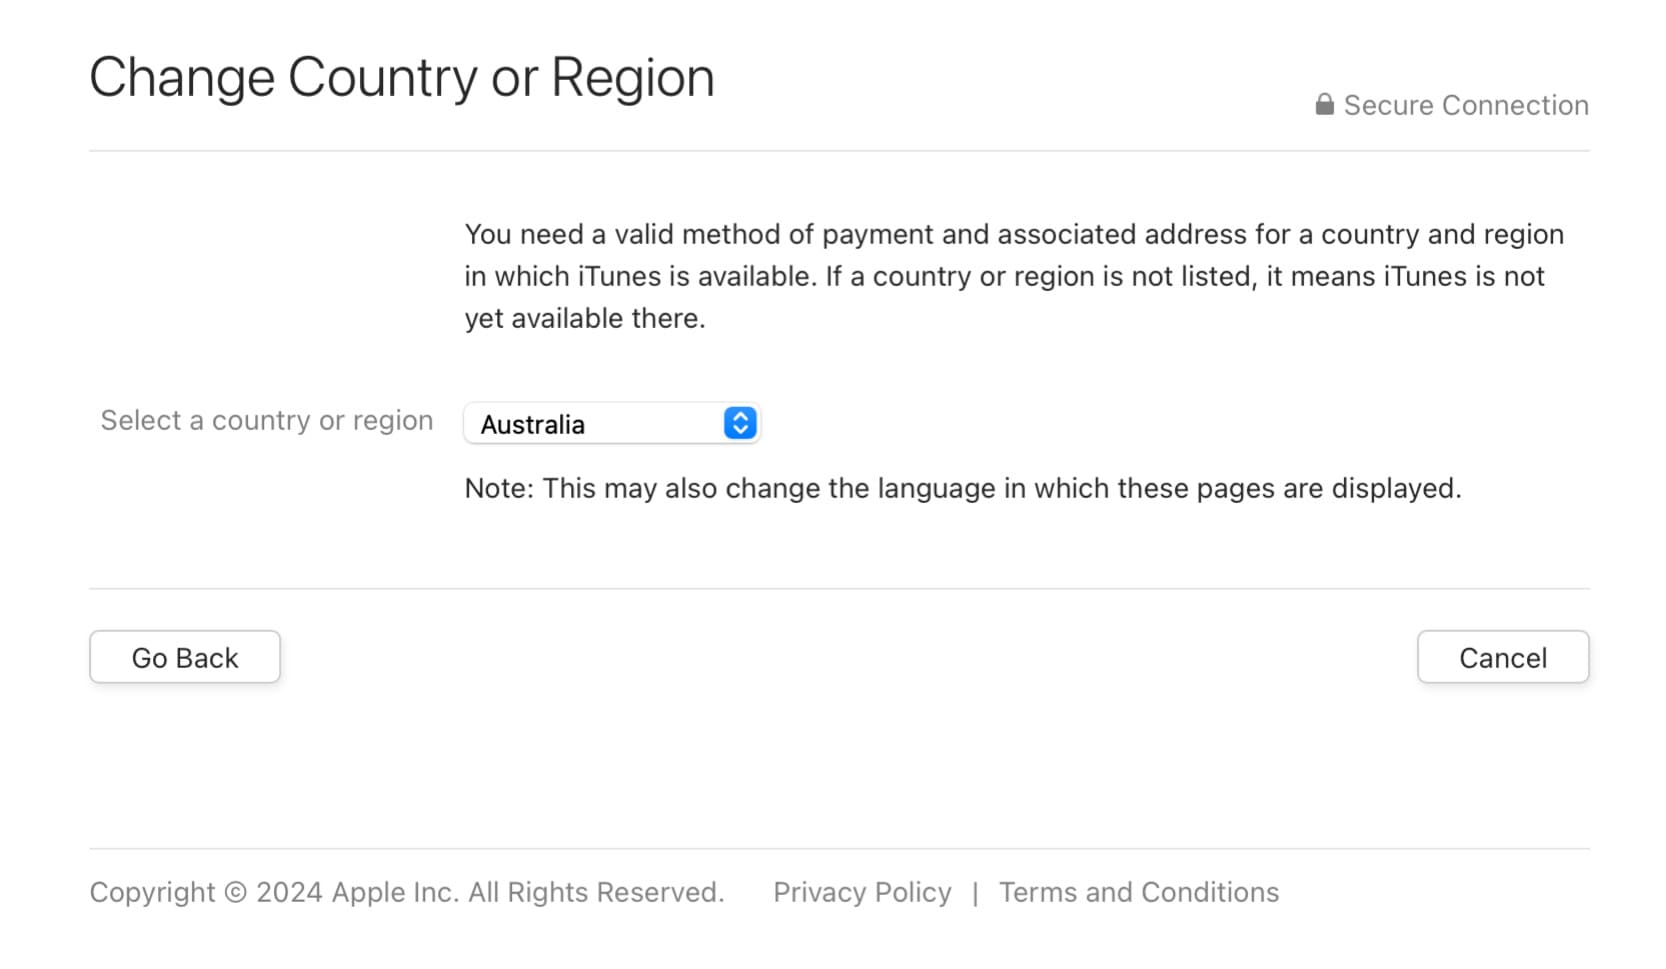
- Next, select “Change Country or Region“.
- Scroll through the list and choose the country you want to switch to.

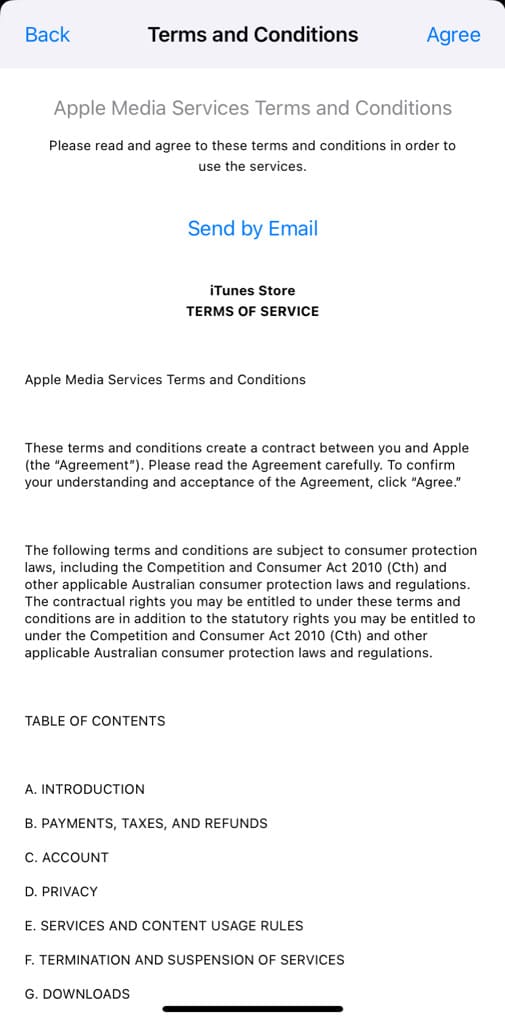
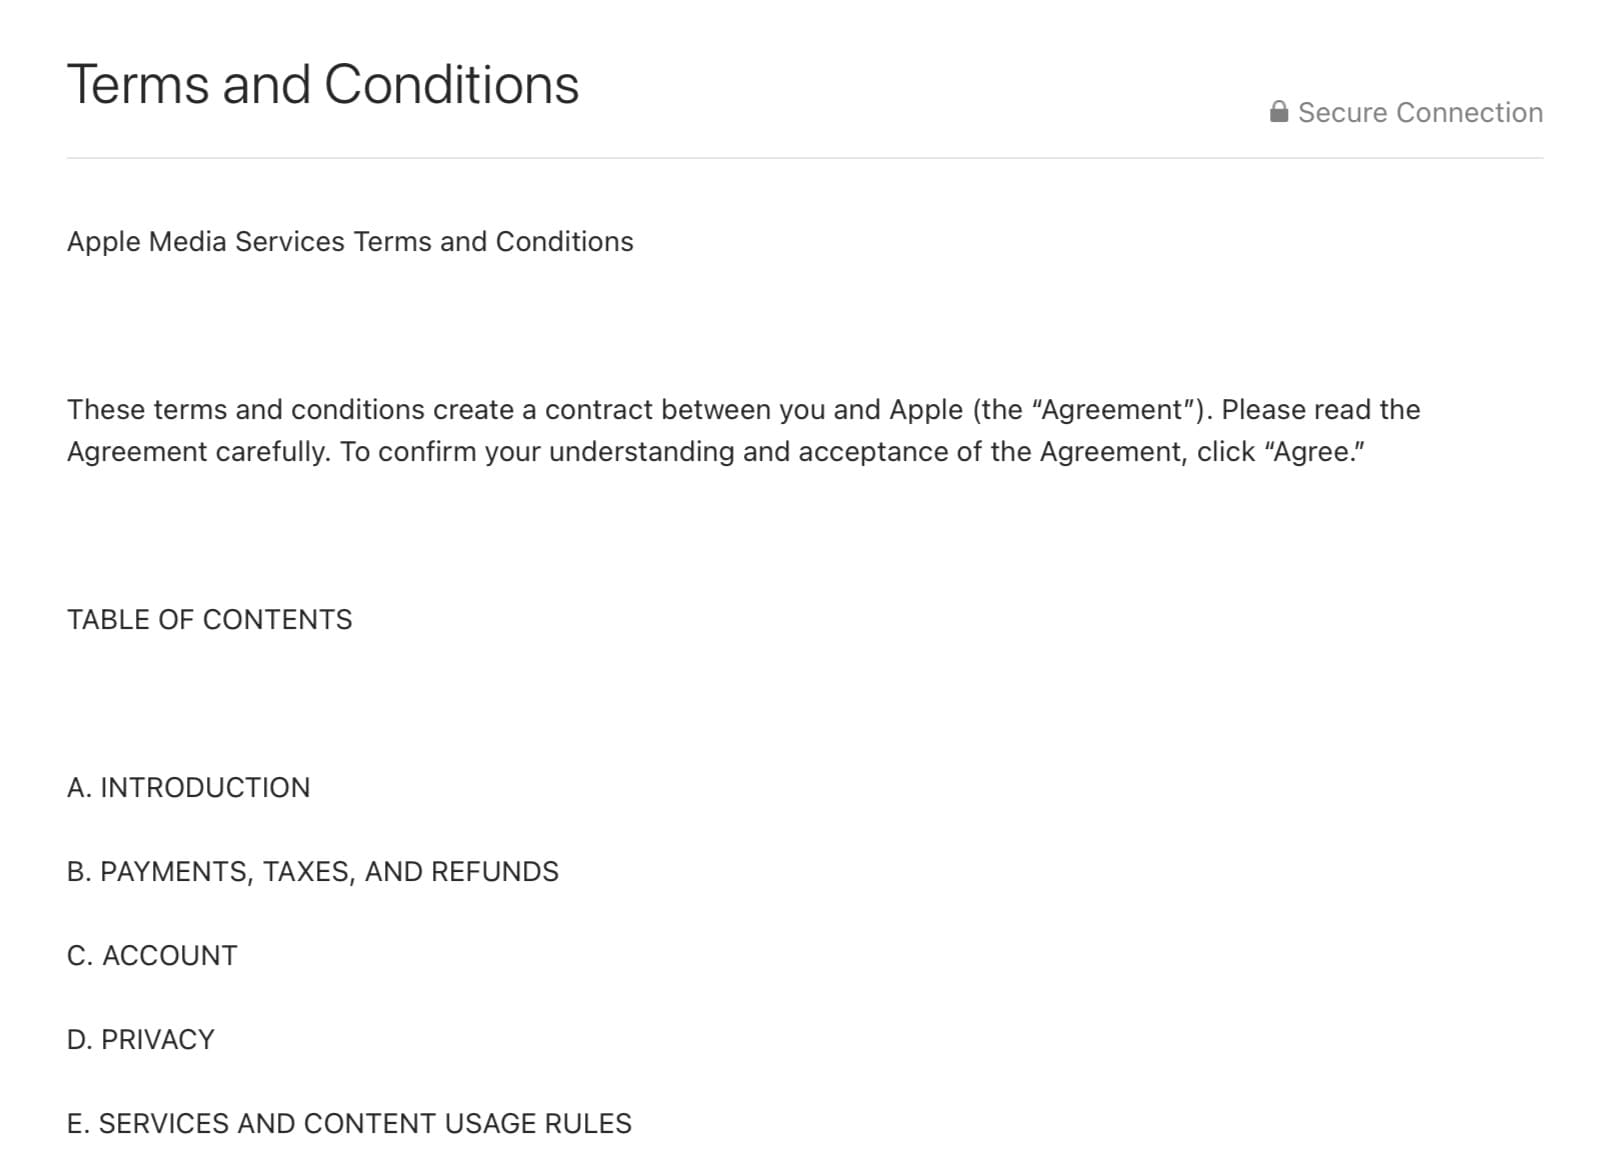
- Review and accept the Terms and Conditions.
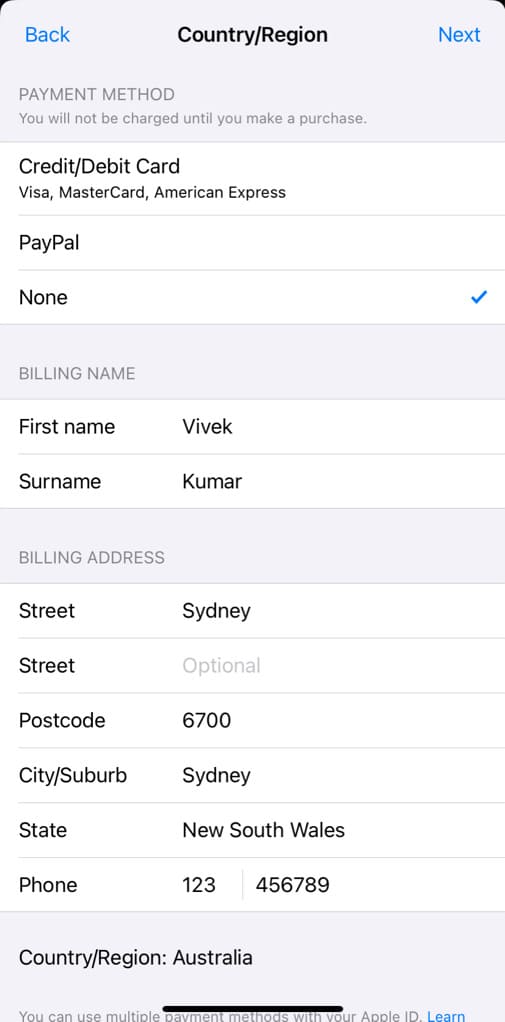
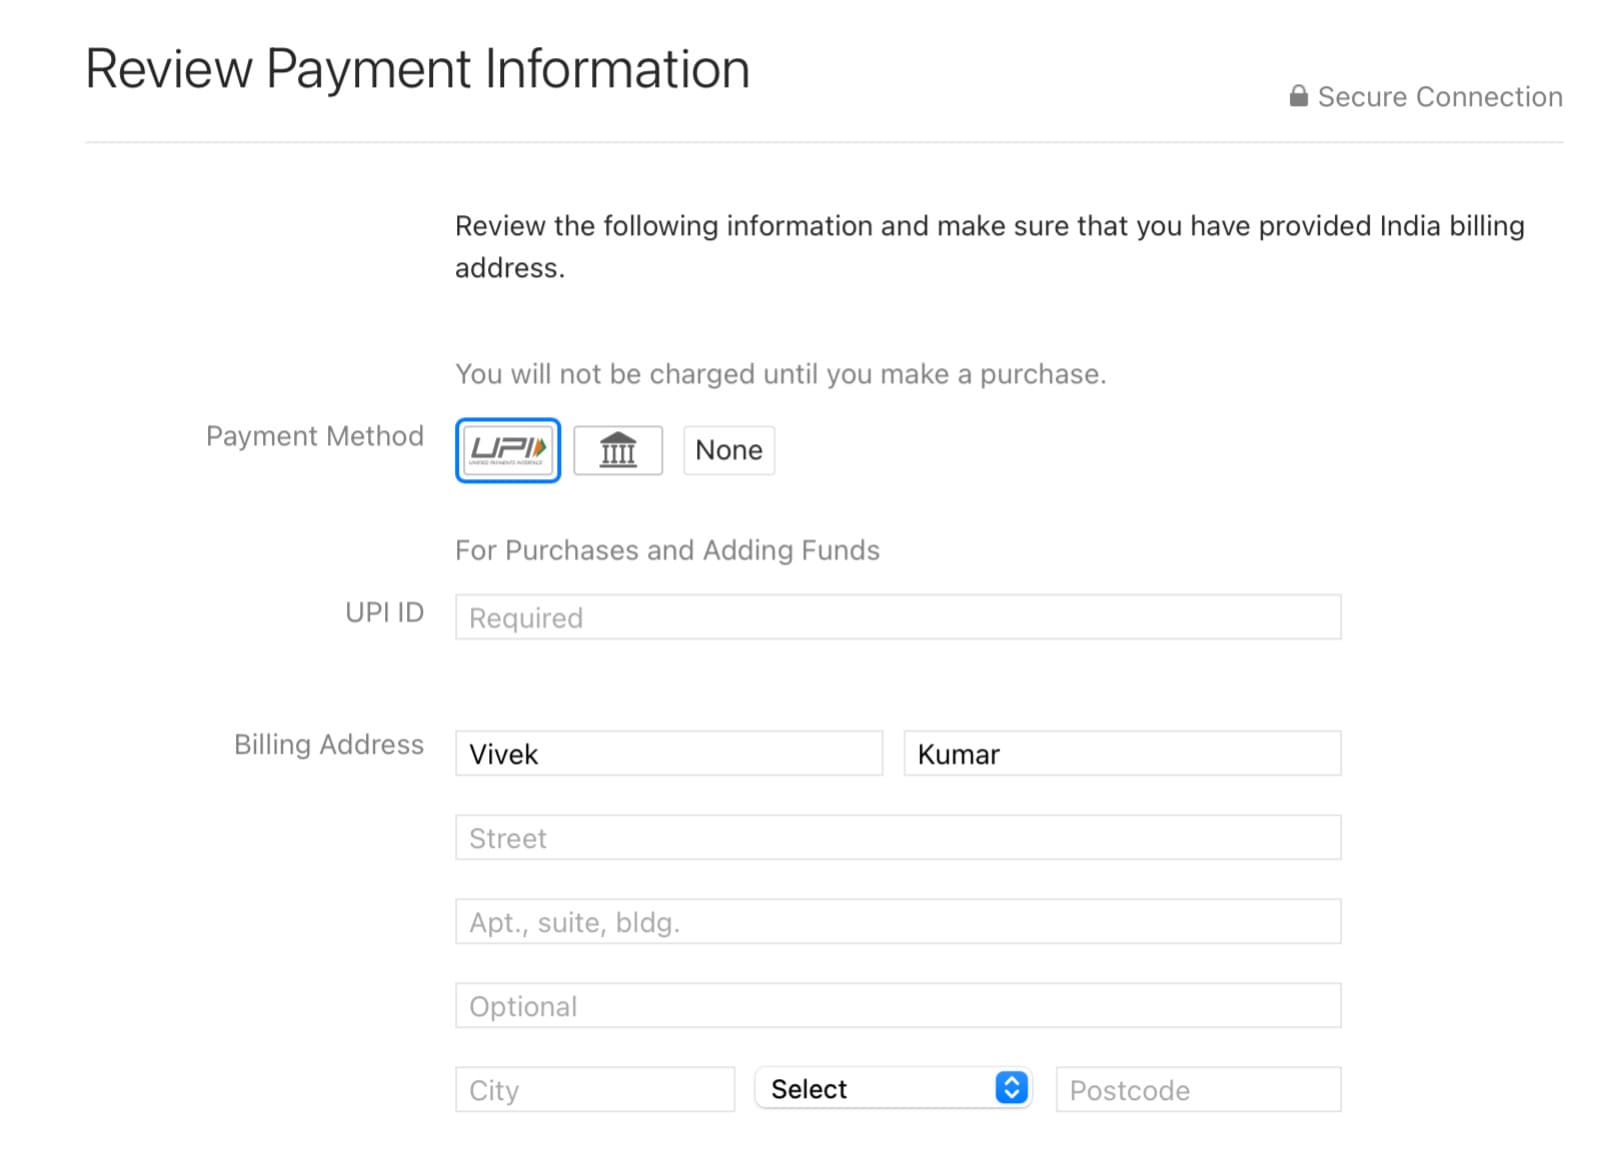
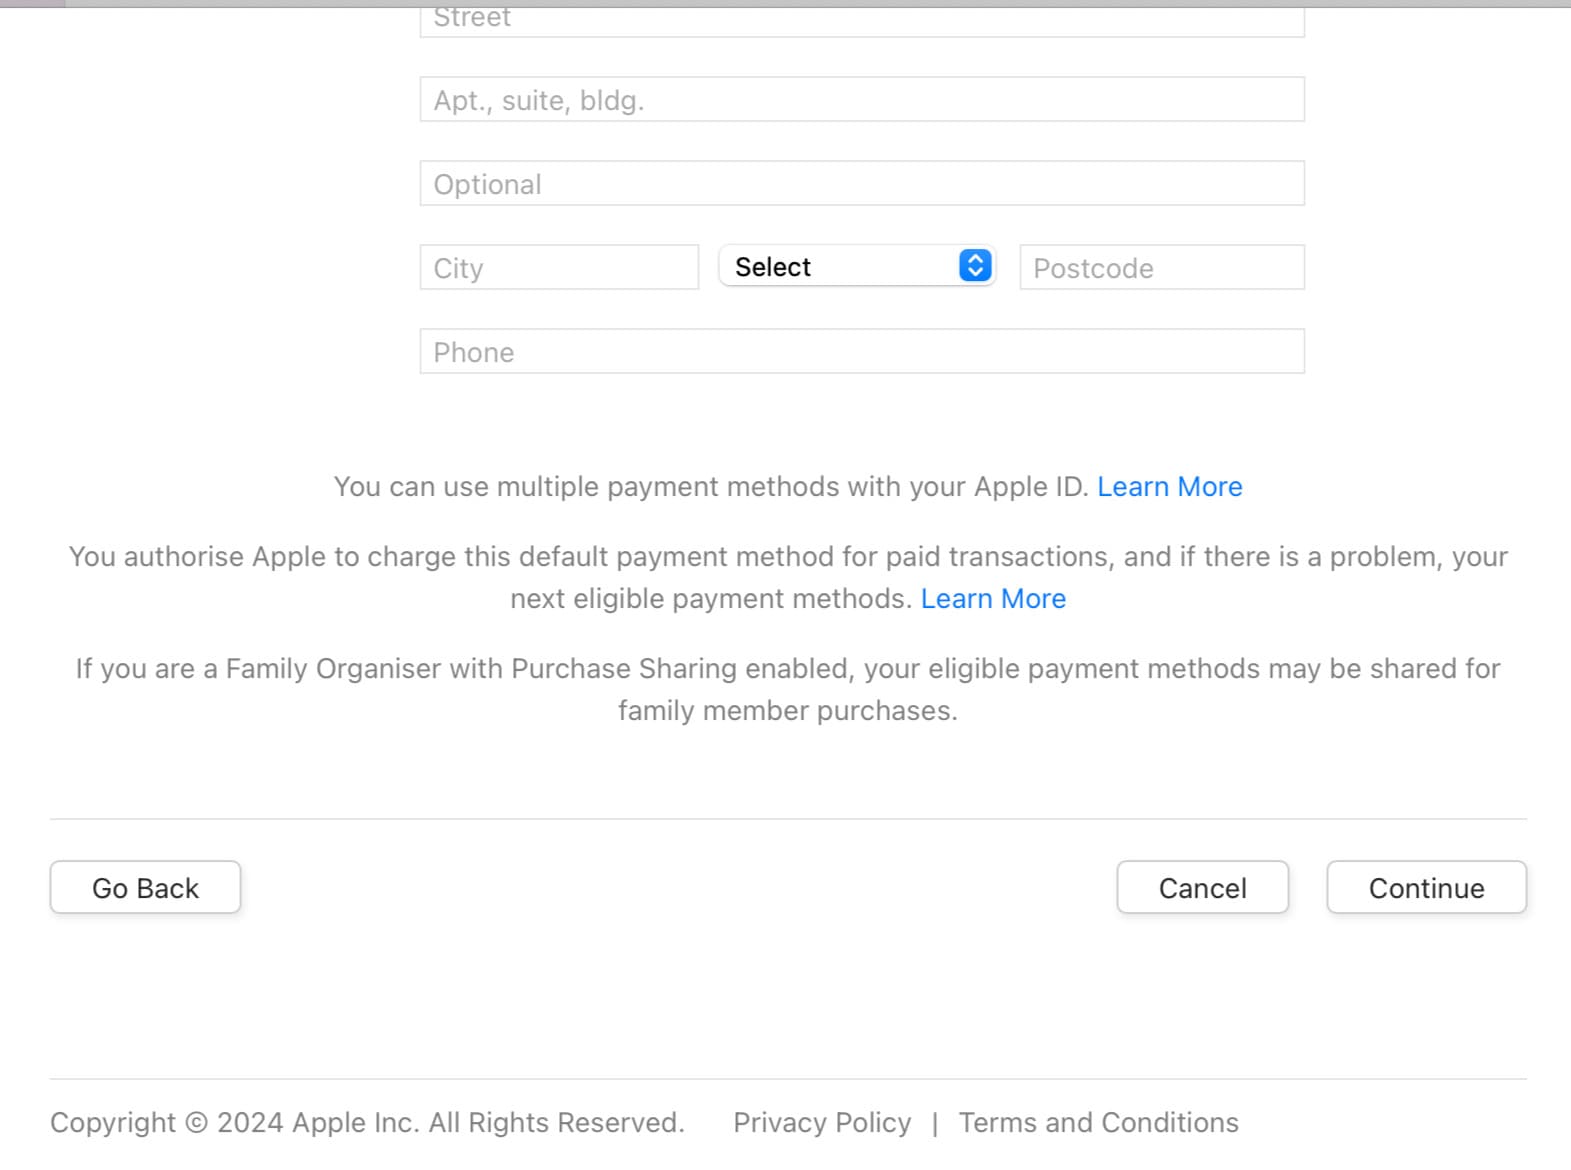
- Update your billing information with a valid address and payment method for the selected country. You can select Payment method as None.
- Tap on “Next” to confirm. That’s it!
Now that you have changed your App Store country, you can download apps that weren’t available to you previously. For example, you can download CapCut in India, even though it was removed from the App Store due to geographic restrictions.
Alternative: Change App Store country from Apple ID Settings
Another way to change your country on App Store is via the Apple ID settings on your iPhone or iPad. Here’s what you need to do:
- Open the “Settings” app on your iPhone.
- Tap on your Apple ID name or profile picture at the top.
- Next, tap on “Media & Purchases”.
- Select “View Account” option from the menu.
- On the Account Settings page, tap on “Country/Region”. It will take you to the App Store.
- Tap on “Change Country or Region” option.
- Choose the country you want to switch to from the list.
- Review the Terms and Conditions, then tap “Agree” to proceed.
- Enter a valid payment method for the new country. This could be a credit or debit card issued in that country, or you can choose “None” if available.
- Fill in the required billing information for the new country, including billing address and phone number. You can use a local address.
- Tap “Next” to complete the process.
Once you’ve completed the steps above, your App Store country will be updated.
Note: Before you proceed, make sure you have no outstanding balances or pending purchases in your current country’s App Store. Also, keep in mind that some content might not be available or accessible in certain regions due to licensing restrictions.
How to change App Store country on MacBook
Like on iPhone, you can also change your App Store country on MacBook in the same way. Here are the steps you need to follow:
- Open the App Store on your MacBook.
- Click on your account name in the bottom-right corner.
- Next, go to “Account Settings”. You might be prompted to enter your Apple ID password for verification.
- Look for the “Country/Region” section on the Account Information page. To change your country, click on the “Change Country or Region” link.

- A list of countries will appear. Choose the country you want to switch to from the dropdown menu.
- Once you select the new country, you will be prompted to review the terms and conditions. Scroll down to the bottom and click on “Agree” button to proceed.
- On the next page, select Payment Method as None. Enter a valid billing address for the new country.
- Once you’ve updated your payment method and billing address, click on the “Continue” button.
Congratulations! You’ve successfully changed your App Store country on your MacBook.
How to change your Apple ID country online
The country associated with your App Store is the same linked to your Apple ID. If you change your country on Apple ID, the changes will be reflected to your App Store automatically. Here’s how to you can change your Apple ID country online:
- Open Safari or any other web browser on your iPhone or iPad.
- Visit the Apple ID website and sign in to your account. Enter your email address and password. If you have two-factor authentication enabled on your Apple ID, verify your identify by providing the OTP you’ve recieved on your phone number or device where you are already logged in.
- Once you have logged in to your account, go to Personal Information.
- Click on “Country/Region” and then follow the “Change country or region” link.
- On the next web page, select the country where you want your Apple ID to switch.
- After that, select the Payment Method you want to use to make purchases in App Store, iCloud, and other Apple services. You can choose None option (if available).
- Next, enter the billing address for the new country.
- Finally, click on “Update” button at the end. Follow any additional prompts to confirm your changes.
Frequently asked questions
To change your App Store country, you’ll need a valid payment method linked to the new country. However, if the “None” option is available, you can select it. Before proceeding, make sure to remove any existing balance and subscriptions tied to your account.
You can change your App Store country multiple times, however, frequent changes may be subject to certain restrictions.
No, it won’t affect the apps you have already downloaded and installed on your device. Your existing apps will remain on your device, and you will be able to continue using them without any issues.
When you switch your App Store country, your current subscriptions might be affected. Some subscriptions might not be available in the new country, so they could be cancelled. Also, the costs of subscriptions could change due to differences in pricing and currency.
Summary
Changing your App Store country on your iPhone allows you to install apps and games that may not be available in your current location. By following the steps outlined in this guide, you can easily switch between countries and enjoy a wider range of options on the App Store. If you have any questions or doubts, feel free to ask them in the comments below.
Read other similar articles:
- How to Install Apps Not Available in Your Country
- How to Install Apps from Unknown Sources on Android
- How to Lock Apps on iPhone With Passcode or Face ID
- How to Install the Same App Twice on Android
- How to Hide Apps on Your iPhone