Do you want to receive your money in a specific bank account other than the one that your Google Pay is currently set to?

If you have multiple bank accounts linked to the same phone number, you can add all of them to your Google Pay. But only one of them is enabled to receive your payments.
Most people use phone number to receive money through UPI system. If someone sends you money through your phone number, it goes to the primary bank account that you have set on your Google Pay.
Sometimes you need to receive money in a different bank account other than your default one. In this article, we will show you 3 simple methods to receive your money in a specific bank account on Google Pay if you have multiple accounts added.
Table of Contents
1. Set your secondary account as primary on Google Pay
If you have multiple bank accounts added to your Google Pay, you can set one of them as your primary account. This primary account will be used to send and receive money by default. When someone sends you money through your phone number, it goes to your primary account.
Here’s how you can set your secondary account as primary on Google Pay to receive all your future payments on it:
- Launch the Google Pay app on your iPhone or Android device and unlock it.
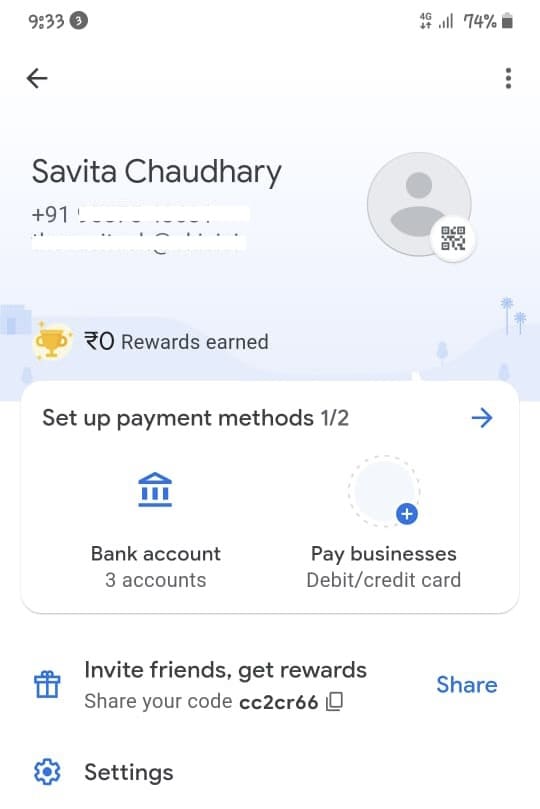
- Tap over your profile picture in the upper-right corner.

- Now go to Payment methods or click Bank accounts. Here you will see all accounts that you have linked to your Google Pay.
- Select the bank account that you want to as set as your primary or where you want to receive your money via phone number.
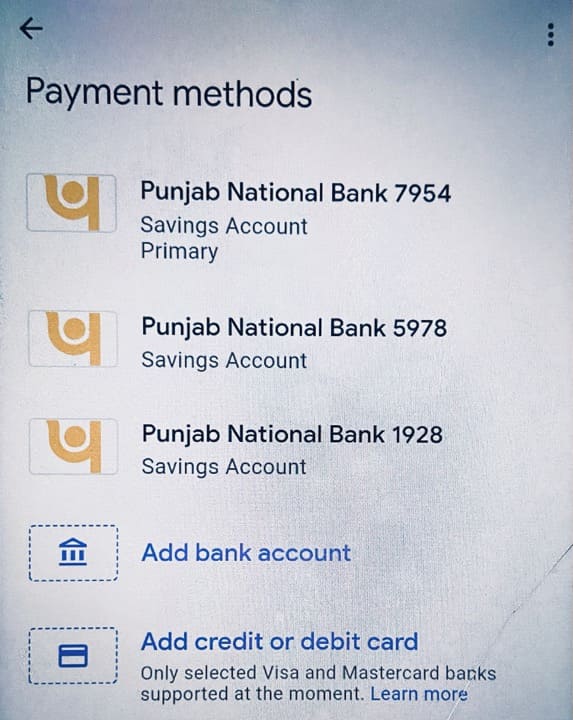
- On the Payment method details page, you will find an option named Set as primary account. Tap on this option. That’s it!

2. Receive money through account specific UPI ID
Each bank account is associated with a different UPI ID. Even if you have multiple accounts linked to your Google Pay, all of them will be having different UPI IDs. To receive money on a specific bank account, you can share the UPI ID of that particular account with the person who is sending you money.
If you don’t know what is your UPI ID, simply open the Google Pay app and tap over your profile picture in the top-right corner. Then go to Payment method and select your bank account. Here you will find your UPI ID mentioned under Manage UPI IDs section.
If you haven’t set your UPI ID yet or you want to change it, go to Manage UPI IDs and then tap the + button next to the UPI ID you want to create. You can have multiple UPI IDs active for the same account at the same time. This will also help in improving your payment success rate as suggested by Google Pay itself.
Create a UPI number
A new kind of UPI ID system called UPI numbers has been launched which is based on numbers. It only includes numbers instead of alphabets as in the case of normal UPI IDs. You can create UPI numbers different for your each bank account.
Money received through UPI number goes to the bank account associated with that UPI number. Go to Google Pay > Profile section > Payment method > Bank account > Manage UPI Numbers to create a UPI number. Upon successful activation, you can share it with the person from whom you want to receive the money.
3. Transfer money between your own bank account on Google Pay
If you have already received money in a different bank account, you can use the self transfer payment facility on Google Pay to forward that money to the right account. For this, you must have both bank accounts linked to your Google Pay. Here’s how you can do self transfer:
Open the Google Pay app on your smartphone and unlock the screen. On the homepage, find and tap Self-transfer option. Now select the bank account from where you want to transfer your money and then select the bank account where you want to receive it. Tap Next button to continue.
Enter the amount you want to transfer and tap the ✓ tick button. In the payment preview, you will be able to see which bank account your money will be transferred from and to. Tap Transfer now button and then enter your UPI PIN to complete the payment. That’s it!
Frequently asked questions
The primary account on Google Pay is the main bank account you’ve set as the default for sending and receiving money. When someone sends you money through Google Pay using your phone number, it goes to this primary bank account by default.
To check which bank account is set as your primary on Google Pay, open the Google Pay app on your device and tap your profile picture in the upper-right corner. Next, go to “Payment methods”. The account marked as “Primary” is your primary account for receiving payments.
Yes, you can use multiple bank accounts with Google Pay. However, only one of them can be set as the primary account for receiving payments. You can choose which account you want to set as primary.
No, Google Pay does not provide wallet facility like Paytm so you cannot receive money without linking it to a bank account. To receive payments on Google Pay, you need to link at least one bank account to your Google Pay account.
Receive your money in the right bank account!
With Google Pay, it’s really easy to manage multiple bank accounts. In this article, we discussed various methods to receive money in a specific bank account on Google Pay. One of the easiest ways is to set your bank account as primary.
Another way is to receive money through your UPI ID which is associated with your bank account. If you have already received the money in a different bank account, self-transfer is the way to go. Let us know if you have any queries related to this topic. Stay tuned for more interesting guides!
Read other similar articles:
- How to Send Money Using UPI Without Internet
- How to Fix Payment Declined Error on Google Pay
- Fix Unable To Add Bank Account In Google Pay
- How to Delete Google Pay Account Permanently
- Fix All Bank Server Unavailable Issues in Google Pay
- Fix Google Pay OTP Not Received Problem