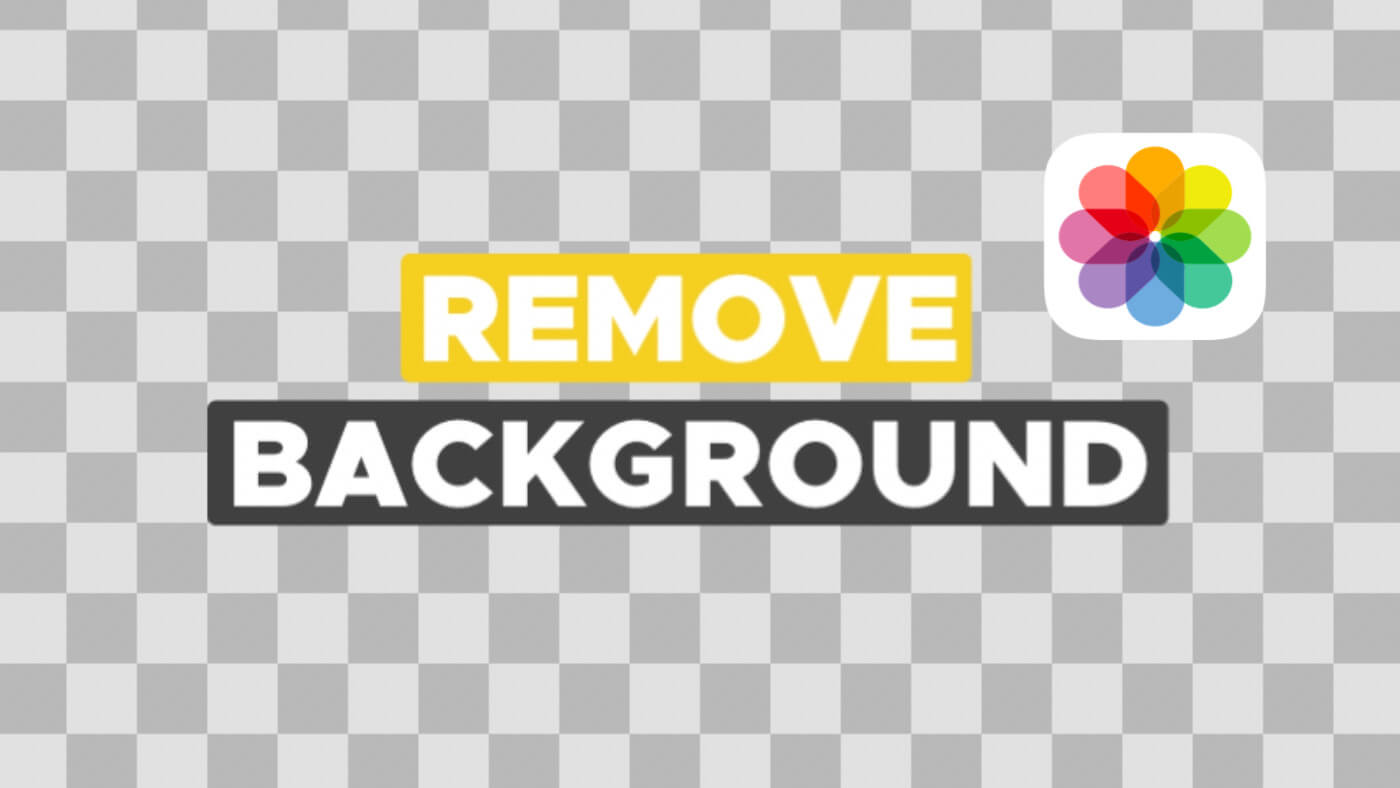
Graphic designers and photo editors often need to remove the background from an image to make it transparent. Let’s suppose you have a picture in which you want to cut out your face or any object from it. For this, you will need to remove the rest of the things from the background. So basically the main target is to create an image with transparent background.
Most of the transparent images are in PNG format including logos, icons, and other similar stuff. These types of images can be used for various purposes. As we discussed an example above, you can change the background of your picture in that case. Other than that, if you are creating a digital artwork by merging multiple pictures, you will need them in the same transparent PNG format.
Now let’s come to the main topic of how you can remove background from an image. Well, there are various methods to get this task done which includes using the online photo editing tools and background eraser apps. This particular guide is for iOS users so here we will show how exactly you can make any image transparent on your iPhone or iPad.
Table of Contents
1. Use Background Eraser app
The most simple method to remove background from an image is by using the Background Eraser app. What’s special about this app is that it gives very good finishing to the final transparent image with sharp and clear edges. Also, there are different tools that can help you erase background whichever way you want. This app is available on the App Store of iOS for free. Here’s how you can use it –
- Download and install the Background Eraser app on your iPhone or iPad.
- Open the app and click on Load a Photo option. You may be asked to allow access to the photos on your device.

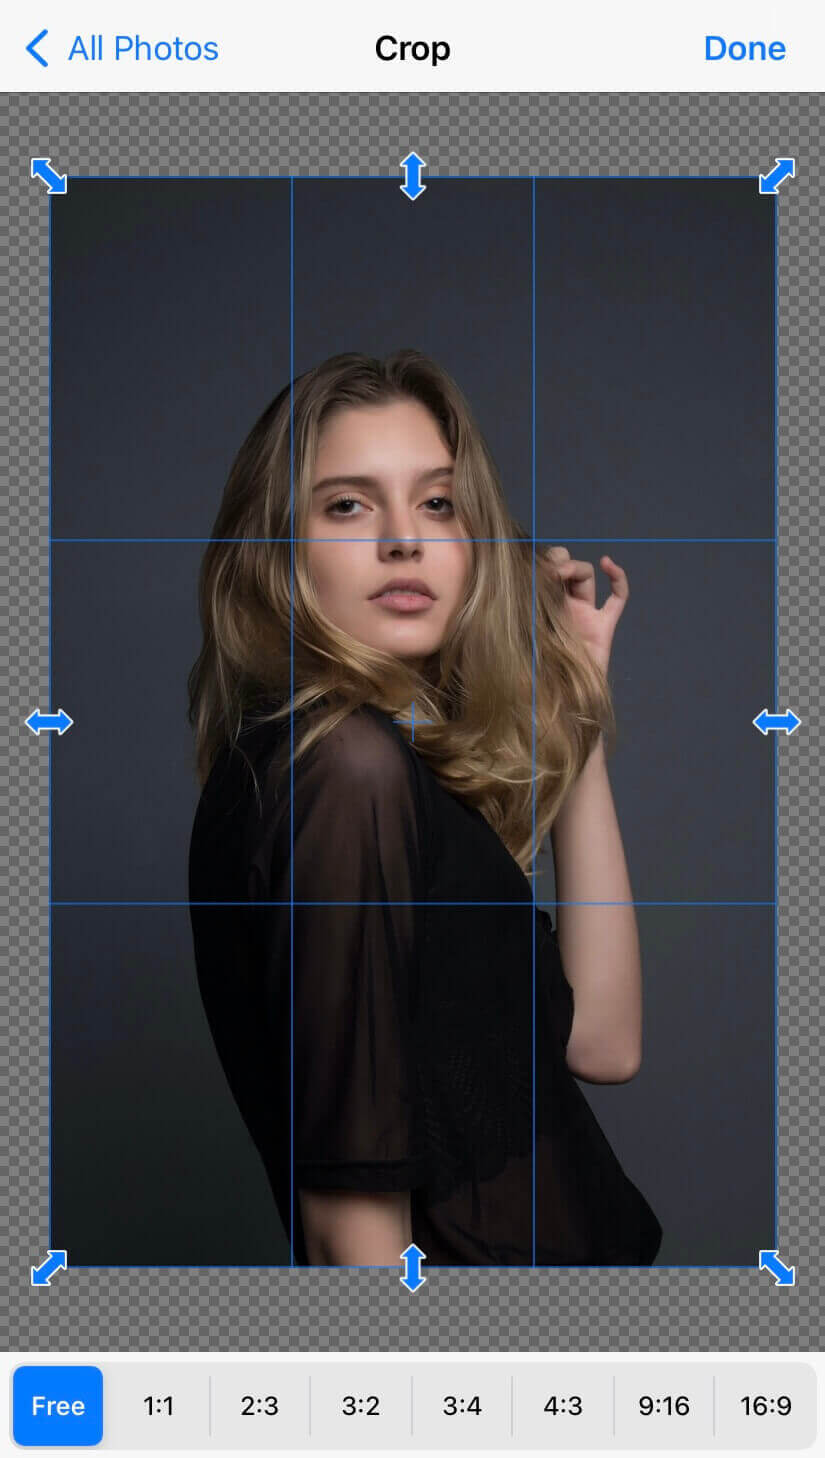
- From the My Album, go to All Photos and then choose the image you want to edit. Next, you will be asked to crop your image. This is an optional step and if you want to skip it, simply click the Done option at the top-right corner.
- In the next step, you will move to editing screen where you will see various eraser tools at the bottom. Choose any of them based on your choice and start removing background from your image. Here we have listed all editing tools and what are they basically:

Auto – This will allow you to use the selector to select the portion of an image that you want to erase or make transparent.
Color – This will allow you to choose a particular color that you want to remove from the image.
Manual – As the name suggests, with this tool you can manually erase content from the image.
Repair – If you have eraser anything by mistake, you can use the Repair tool to get back the removed part.
Star symbol – This tool will smart eraser background by cutting through the sharp edges and lines on the image. - Once the editing part is done, click the Done option at the top-right corner to continue.
- Next, you can further edit your image by applying feather (soft edges) around the cuts and choose background as transparent or white. Click on Save option finally and your edited image will be saved to Photos app as transparent PNG.

If you want to get rid of unwanted elements from your image instead of erasing the background, then you can check out this particular guide on how to remove unwanted objects from photos.
2. Erase background using Shortcuts app
Another method to remove background from an image is by using the Shortcuts app on iOS. For those who don’t know, Shortcuts is a visual scripting application that comes pre-installed on all iOS devices and it allows you to create automated tasks. You can make your own custom shortcuts in the app and also add them from other sources.
There is a shortcut available on RoutineHub website named Background Remover which allows you to cut out and remove the background from any picture easily. This shortcut uses Adobe API to get the editing part done. You just have to select the image you want to cut out and the rest of the task will be done by the shortcut automatically. Here’s a complete detailed guide –
Step 1: Install Shortcuts app and allow untrusted shortcuts
If you have uninstalled Shortcuts app from your iPhone or iPad for some reasons in the past, you will need to download it again. This can be done from App Store on your device. Once it’s installed successfully, the next thing you have to do is to allow access to the untrusted shortcuts.
As you will be adding shortcut from a third-party website, iOS ask you to provide this permission to make sure that the source from where you are installing the shortcuts is safe. To allow this permission, open the Settings app, find and open Shortcuts, and then toggle on “Allow Untrusted Shortcuts” button.
Step 2: Add Background Remover to your Shortcuts
Go to the official RoutineHub page and tap on Get Shortcut button. This will redirect you to the Shortcuts app on your iPhone or iPad where you have confirm adding the shortcut. Tap on +Add Shortcut button. Once this is done, go to the My Shortcuts tab and there you will see the new shortcut added at the top.
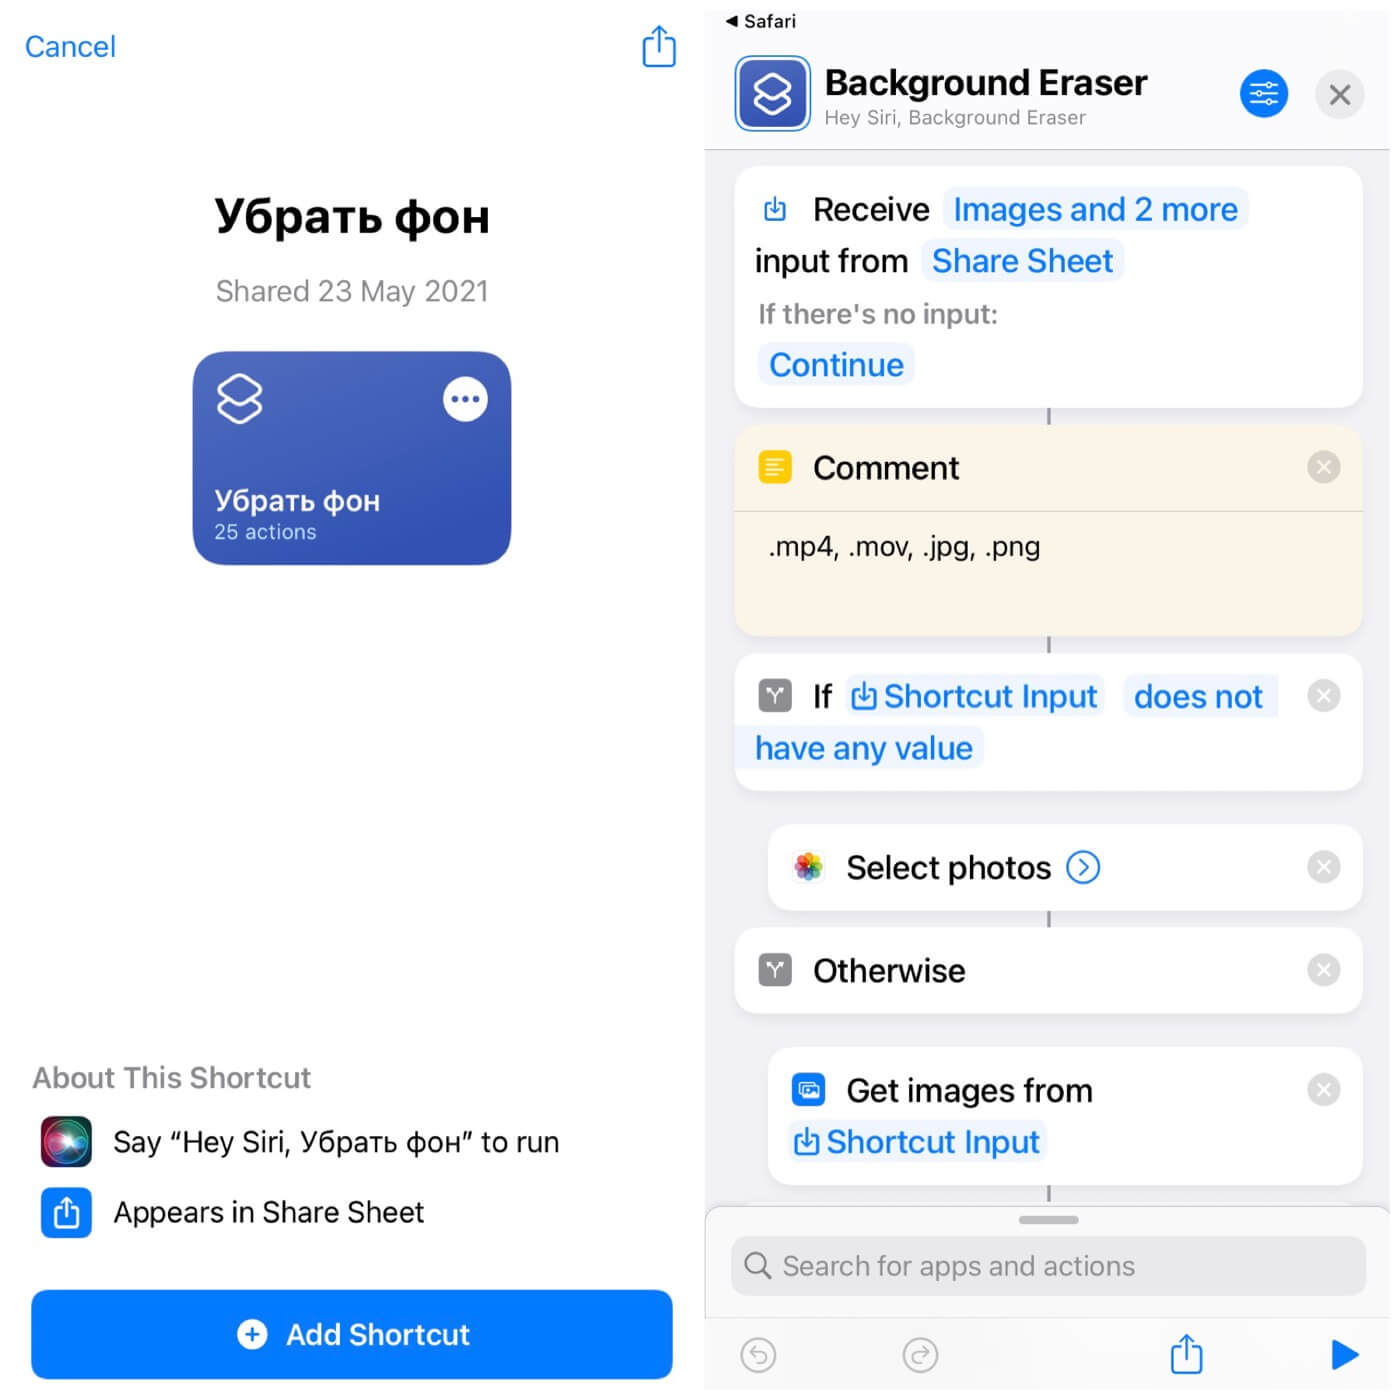
The shortcut’s original name is in Russian language and if you need to change it, tap the three dots button and then edit the name. You can also check how the series of tasks are performed and how the shortcut works in the background.
Step 3: Remove the background from your photo
Click on the shortcut to open it. For the first time, you will be asked to allow the shortcut to access your photos. Next, select the particular photo whose background you want to remove. After that, you will need to allow few more permissions to make shortcut access the Abode API and upload your photo on their servers for editing.
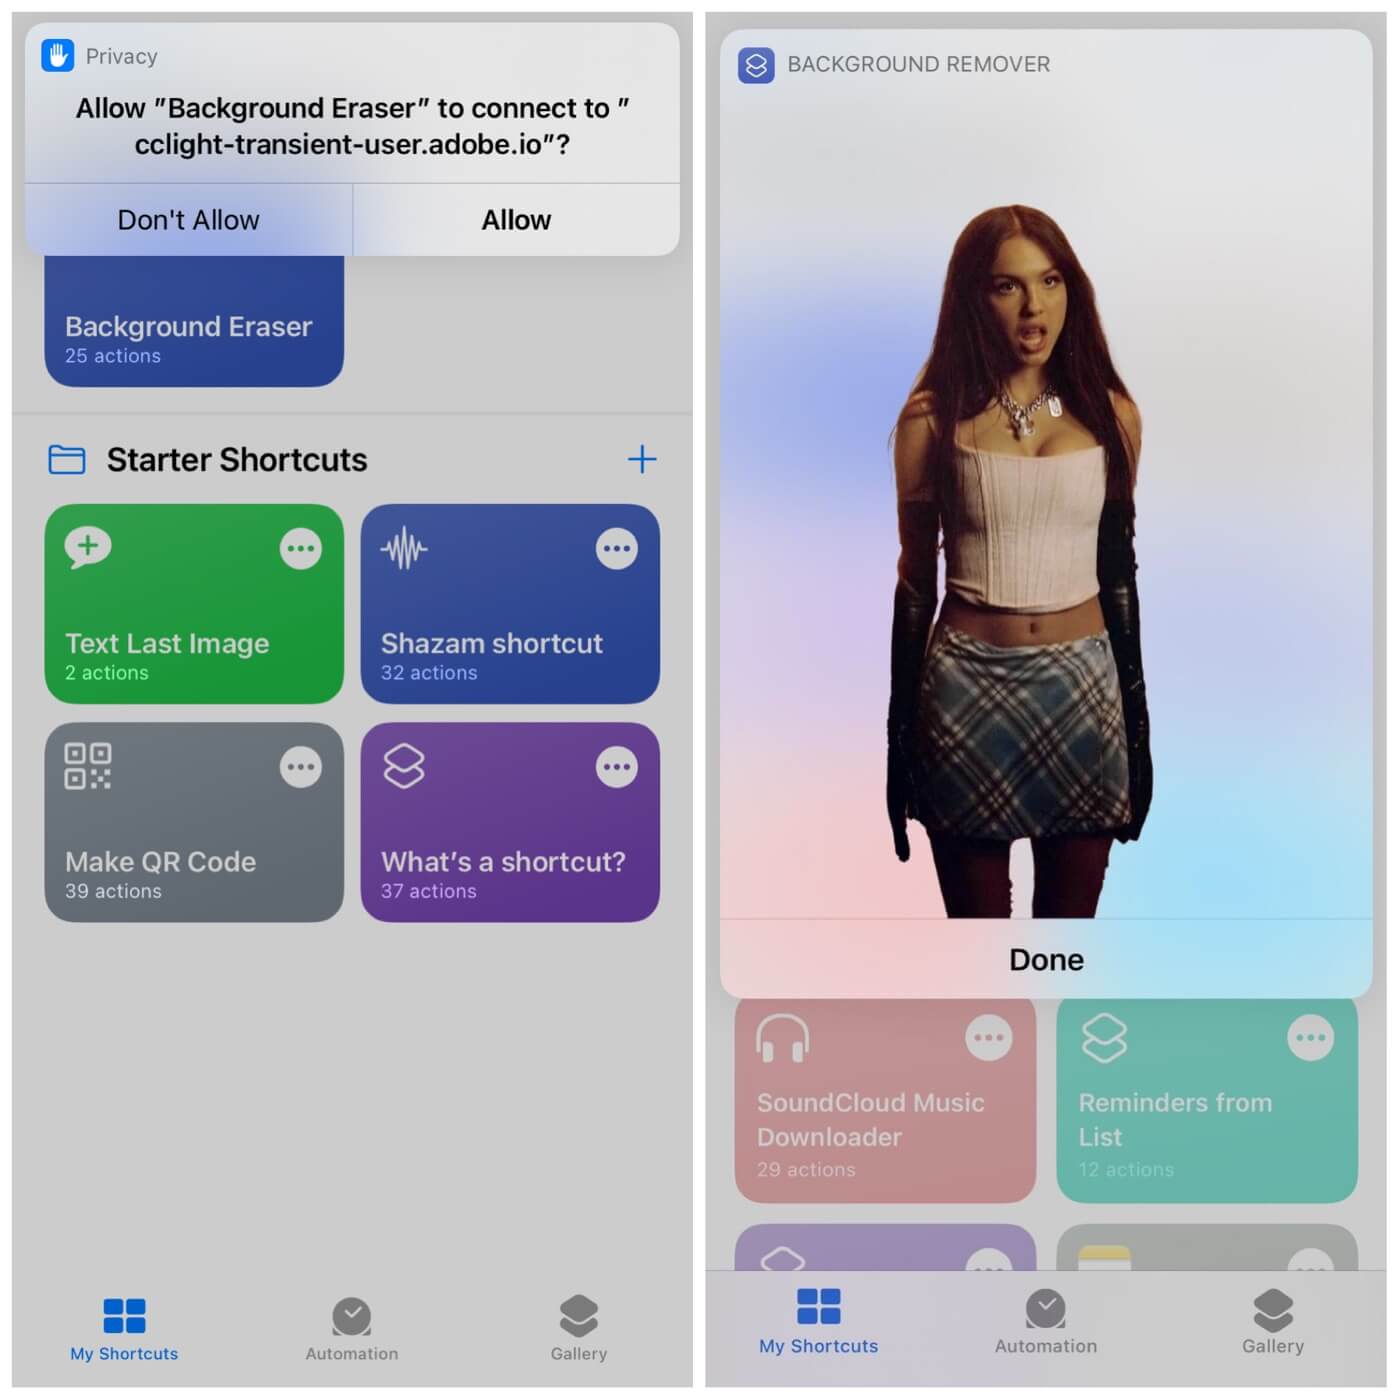
Now wait for some time and let the shortcut do its work in the background. Once the editing is done, your new image with transparent background will appear. To save it on your phone, tap on the image to open it in full size and then click on share icon at the top-right corner. This will open a pop-up window from the bottom where you have to click on Save Image option and your image will be saved to Photos app.
Unlike the first method, this method doesn’t allow you to erase the background manually. Everything is done by the shortcut automatically. In order to get the best results, your image should be in high quality with a clear difference between foreground object and background. Photos clicked with the Portrait mode on iPhone camera are good for this purpose.
3. Use an online tool to remove background
There are plenty of tools available online which can also help you to remove background from an image. This method is useful for those who don’t want to edit images on regular basis and also don’t need to fill up their phone by installing an unwanted app. Out of many background eraser tools, removebg is the most popular one which we are going to use in this article.
removebg uses artificial intelligence (AI) technology to smartly analyse your picture and decide what background area is to be removed by itself. It will automatically select the main object that you want to make transparent and produce the PNG image of the same without making it look jagged or amateur.
Using this background eraser tool is super easy. All you need to do is go to the remove.bg website from any web browser application on your PC or phone, click on the Upload Image button and then choose the picture you want to edit. Once it’s uploaded and processed, you will be see the edited image with transparent background.
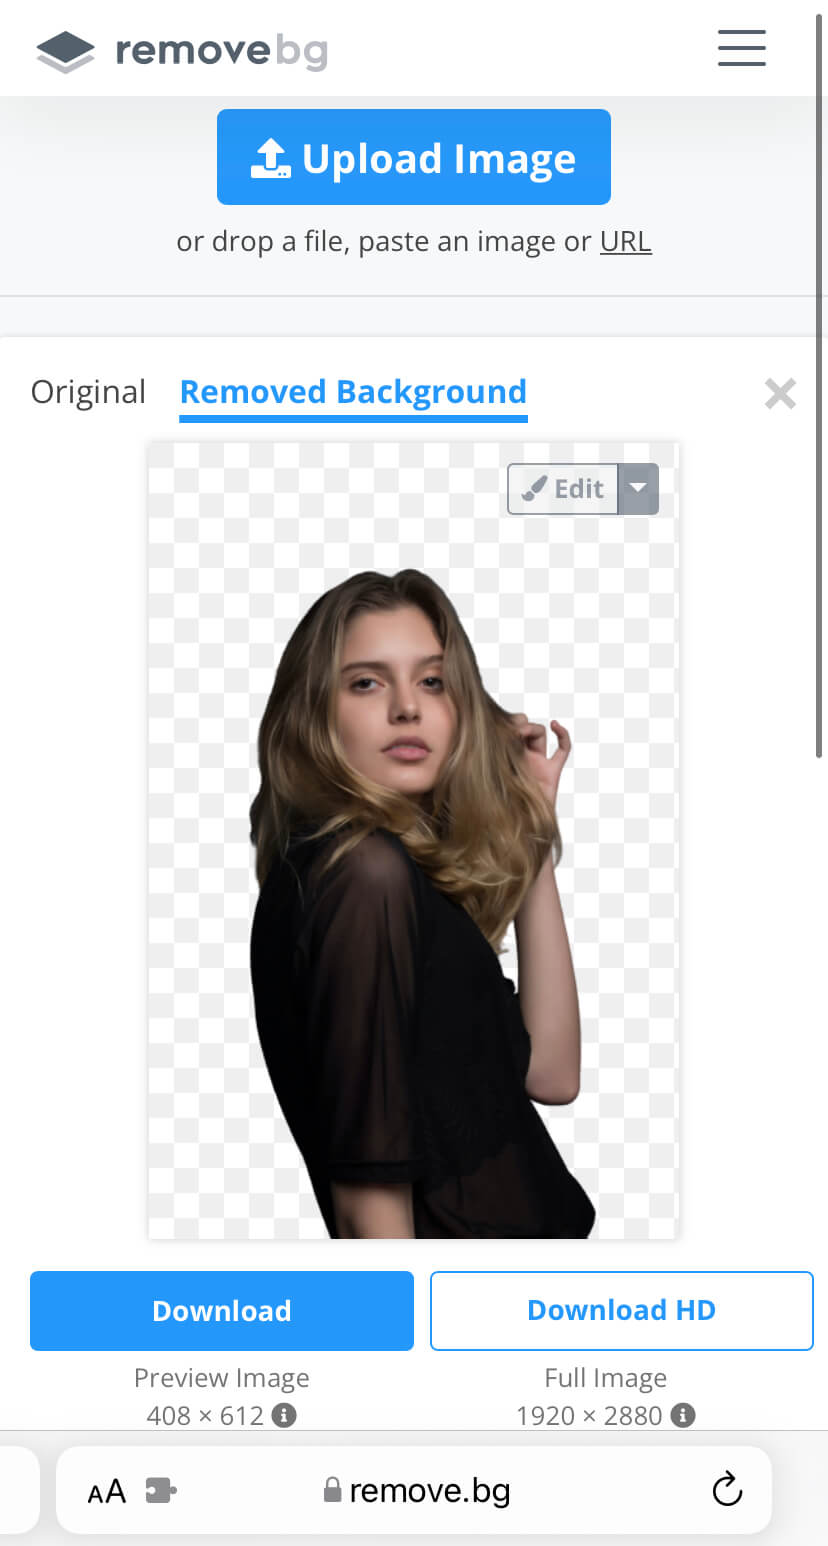
By clicking on the Edit option, you can make changes in your final image using the Eraser and Restore tools. Apart from that, you can also add a custom background. There are two versions available for downloading the image one is the preview version and the other one is the full HD version. Select any of them based on your choice and you will get the transparent PNG image downloaded on your device.
4. Erase background using Pages app
There is so much iOS has offered with its built-in apps some of which that you have never heard of or ever used in your entire life. One such thing is this technique to remove background from a photo using the Pages app on iOS device.
As you may already know, Pages app is basically a word processor which allows you to create awesome pages for resumes, letters, CVs, posters, and other documents. There is a feature in this app using which you can make an image transparent.
This feature is called Instant Alpha. To use it, simply open the Pages app on your iPhone or iPad and tap on the + (plus) button on a page. After that, choose Image or Video option and then select the image whose background you want to remove.
Once the image is added, tap on it to select and then choose Instant Alpha option which is a paint brush icon at the top. Now drag your finger over the colour you want to erase. After you have removed the background, click on Done option to save the changes. Your transparent image will be ready now.
Unfortunately, there is no way you can save the edited image from Pages app to your Photos directly. However, you can copy and use it with a photo editing app. To do this, simply tap on the image to select and then choose Copy option. After that, open the photo editing app where you want to edit the image further and paste it there.
Conclusion
Cutting out an object from a picture has never been this much easier on smartphones. Before reading this article, you might be wondering that you need some professional editing skills and premium photo editing software in order to remove background from an image. Did this ever came into your mind that you can do that with your iPhone or iPad only and that too by using the built-in apps? If not, then you must have enjoyed reading this article and surely learned something new here. If you are facing any problem with the above methods, feel free to share it in the comments below.