Are you unable to upload a video to your Instagram reels? Sometimes Instagram gets stuck while uploading your reels and no matter how long you wait, it doesn’t finish. While the progress bar in your news feed says “Sharing to reels“, there is no sign of it happening.

If you have tried all the basic fixes to troubleshoot the uploading issue on Instagram reels but nothing worked for you, then this tutorial will provide you with a solution.
In this article, we will discuss the reasons why you can’t upload your video to Instagram reels and how you can fix this problem on your iPhone or Android device. Let’s get started!
Table of Contents
Why is Instagram not uploading your reels?
There could be a few reasons why Instagram isn’t uploading your reels. It could be a problem with your internet connection, some technical issue in the Instagram app, or something else. Let’s have a look at all potential causes that can lead to this uploading problem on Instagram reels –
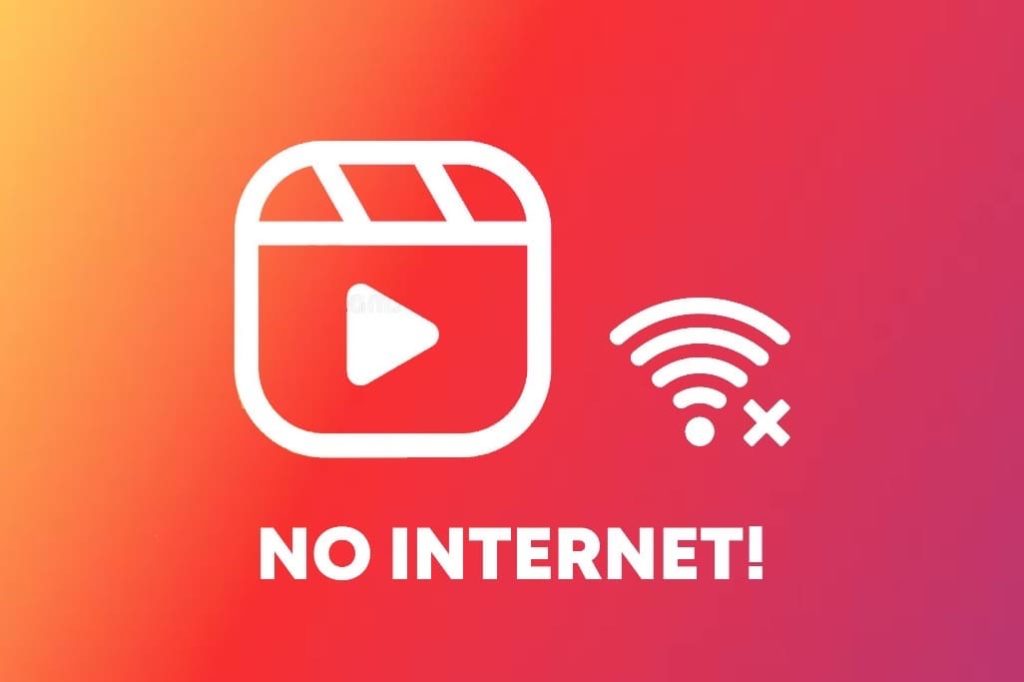
Reason 1: Your Internet isn’t working
Instagram app requires a strong and stable internet connection to upload a reel. If your internet connection is weak or unstable, it can prevent your reel from uploading. This is one of the most common reasons why people face issue while uploading their Instagram reels.
There are a few ways to test if your Internet is working fine. One way is to open a web browser and try to load a website. If the website loads, then your Internet is working. Another way is to use a speed test tool (like Ookla) to test the uploading speeds of your Internet connection.
You can also check the strength of network signals on your phone to know how powerful your internet connection is. Just look at the network signals in the status bar at the top. If you are using mobile data, you should also see an internet symbol such as 4G, LTE, or just E.
Reason 2: Technical glitch
Instagram may get stuck while uploading your reels if the app is having trouble processing the video. When you try to upload a video to Instagram reels, it first has to be compressed into a format that the app can use.

Sometimes, the app fails to encode the video properly, which results in your reel being stuck in the uploading process. There might be some technical glitch in the Instagram app that is causing a problem with the video processing.
This usually happens on low-end smartphones due to insufficient RAM. When you have a lot of apps running at the same time, it can use up all of your RAM and cause the phone to slow down or freeze. You can fix this problem by closing your recent apps and clearing cached data.
Reason 3: Outdated Instagram app
Another reason why your Instagram reels are not uploading could be due to an outdated Instagram app. There might be some bug or technical issue in the current version that you are using on your iPhone or Android device.
It is important to keep your Instagram app up to date to avoid any issues when uploading your reels. Every time a new update is released, it comes with a list of improvements, bug fixes, and new features.
Reason 4: Instagram servers are busy
If you are unable to upload your video to Instagram reels, it could be possible that Instagram servers are busy right now. This could happen due to an unexpected outage or scheduled maintenance.
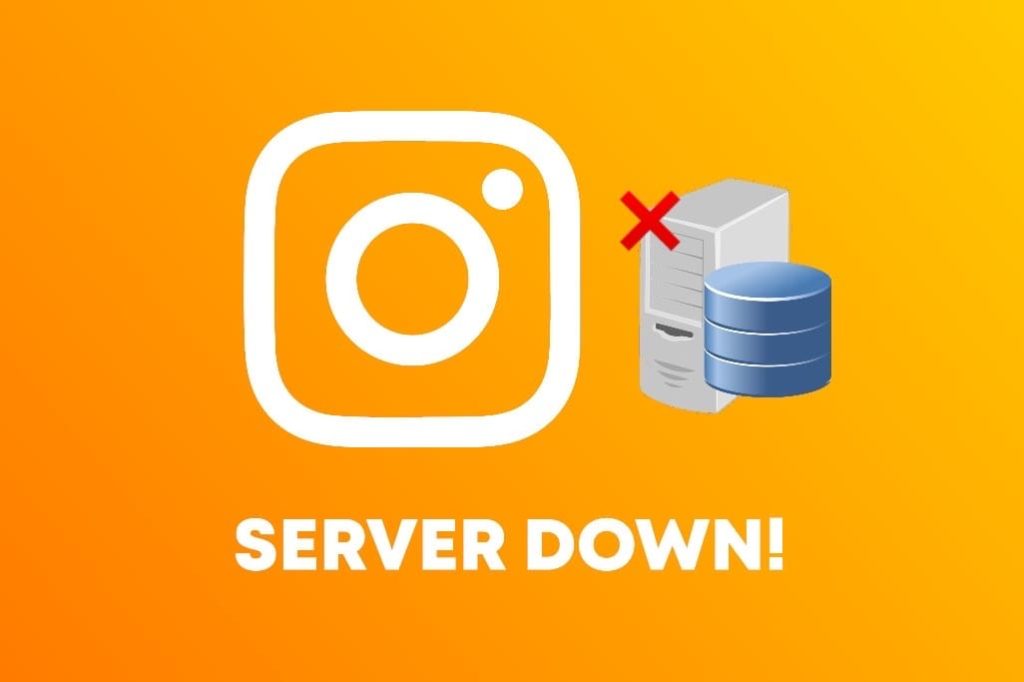
Every day, hundreds of thousands of videos are uploaded to Instagram reels. When there are too many people uploading at the same time, it can sometimes overload the servers and cause them to crash.
How to fix Instagram reels not uploading
It’s important to identify the reason why you are having trouble while uploading your Instagram reels. Once you have identified that, it will be easier for you to fix that problem. You can try the following methods to troubleshoot Instagram reels not uploading on both Android and iOS.
Method 1: Fix your internet connection
The first step towards fixing the uploading issue on Instagram reels is to make sure that your internet connection is working properly. If you’re having trouble connecting to the Internet, there are a few things you can do to try and fix the problem on your device.
Reset your network signals
Follow these simple steps to reset your network signals on Android:
- Go to the Settings app on your Android phone.
- Tap on Network & internet. This option may be available with a different name on your device such as Connections.
- Next, click on Mobile Networks and then go to Network operators. If you have a dual SIM phone, select the SIM for which you want to reset the network.
- Now tap on Select manually. Wait for it scan for all available networks around you.
- Finally, select the name of your network provider and this will reset your signals. Alternatively, you can also choose Select Automatically to let your phone choose the best network itself.
If you are an iPhone user, you can reset your network signals in the same way. Simply, go to Settings > Mobile Data > Network Selection and disable the toggle button named Automatic.

Now your iPhone will search for the available network. Select your network provider’s name from the list and you are good to go! Try uploading your Instagram reel after this and hopefully you won’t face any uploading issue.
Reset your network settings
If resetting the network signals didn’t work, you can reset the whole network settings on your smartphone. To do this on Android, go to Settings > General Management or System > Reset options and click on Reset network settings.
iPhone users can follow this path: Settings > General > Transfer or Reset iPhone > Reset > Reset Network Settings. You will be asked to unlock your iPhone with a passcode to verify your identity. Once it’s done, your internet should be working fine again.
Use airplane mode to reset the network
Another way to reset your network is by using airplane mode. This will disconnect your device from the network, resetting your signals and giving it a fresh start.
All you need to do is activate the airplane mode and then turn it off again after a while. You can access airplane mode directly from the Control Center (on iOS) or via Quick Settings (on Android).
Fixing your Wi-Fi connection
If you are using a Wi-Fi connection and it is slow or not working, the first thing you should do is restart your modem or router. This will reset your Internet connection and give it a fresh start. If that doesn’t work, you can always call your Internet service provider to troubleshoot the issue.
Method 2: Force stop the Instagram app
If you’re experiencing uploading issues with the Instagram app, one solution you can try is to force stop the app. This will abort the uploading and all other ongoing processes in the background. After that, you will be able to re-upload your Instagram reels without any issues.
Follow these simple steps to force stop the Instagram app on Android –
- Open the Settings app.
- Go to Apps.
- Find and open Instagram.
- Tap on Force Stop button.
Make sure to remove the Instagram app from the recent apps on your phone. After that, reopen it and try uploading your video to Instagram reels again. You should now be able to upload it without any problem.
Method 3: Clear Instagram app cache
One of the most effective ways to fix Instagram reels not uploading is to clear the cached data. This can help the app to run more smoothly and fix any glitches. Here’s how you can clear cached data of the Instagram app on Android –
- Open the Settings app.
- Go to Apps and select Instagram.
- Click on the Storage option.
- Tap the Clear data button and then click on OK to proceed. That’s it.

Note: Clearing the cached data will delete everything from the Instagram app. You have to log in to your account and re-upload the video from scratch. Hopefully, this will fix any glitch that was causing a problem with uploading your Instagram reels previously.
Method 4: Update the Instagram app
If you are using an outdated version of the Instagram app, you may experience problems when trying to upload your videos to Instagram reels. It is recommended that you update the Instagram app regularly to avoid such issues.
Instagram is constantly making updates to its app in order to improve the user experience. The latest version of the app includes bug fixes and performance improvements. It will automatically fix your uploading problem on Instagram reels.
To update Instagram, just go to the official app store of your device, search for Instagram and open the app download page. If a new version is available, you will see an Update option. Tap on it and wait for the downloading to finish.
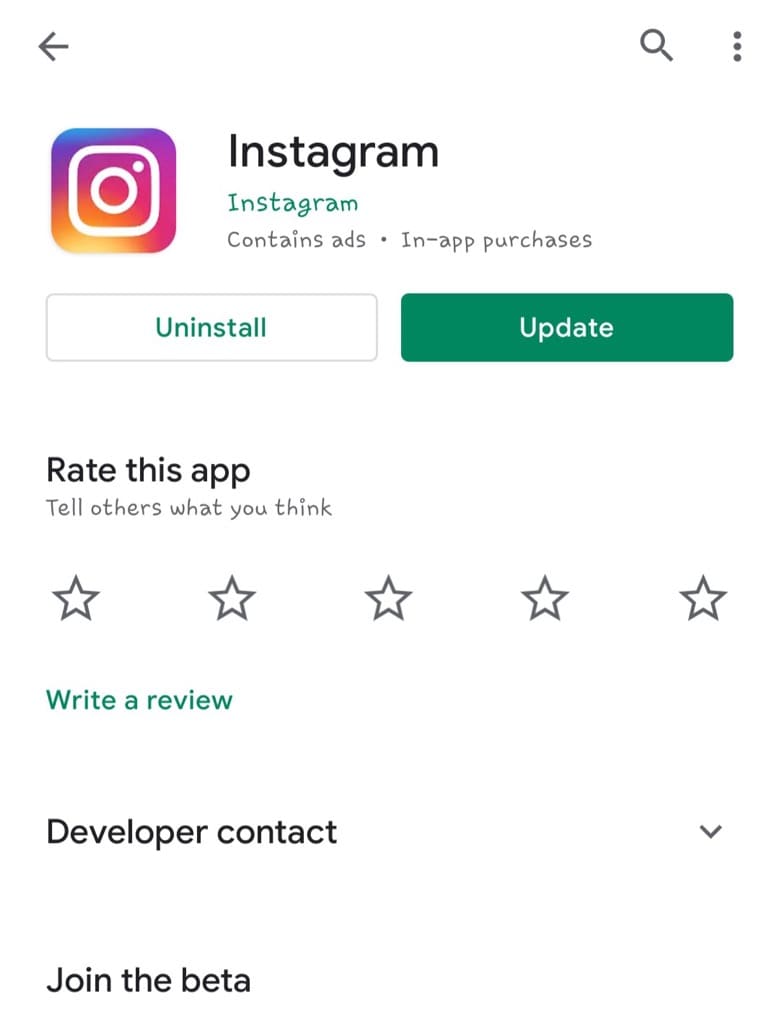
Update Instagram: Play Store (Android) | App Store (iPhone/iOS)
Once you have updated your Instagram app to the latest version, try uploading your Instagram reels again. Hopefully, you won’t encounter the same problem this time.
Method 5: Log out and log in again

Logging out and then logging back in will reset your account preferences, and this may also help to fix the Instagram reels not uploading issue on your phone. It is a very simple process which is worth trying before resorting to more complicated troubleshooting.
Method 6: Turn off Data Saver on Instagram
Instagram has a Data Saver feature that lets you reduce data usage on its app by limiting the quality of photos and videos, and restricting the background data. However, this feature might interfere with the uploading of your Instagram Reels.
If you have Data Saver mode enabled on your Instagram app, try disabling it to resolve this issue. Here are the steps you need to follow:
- Open the Instagram app on your device.
- Go to your profile by tapping on your profile picture in the bottom-right corner.
- Tap the three horizontal lines in the top-right corner. This will take you to the Settings and activity menu.

- Scroll down and tap on “Media quality” under “Your app and media” section.

- Here you will find an option named “Use less mobile data“. If it is turned on, switch off the toggle button next to it.
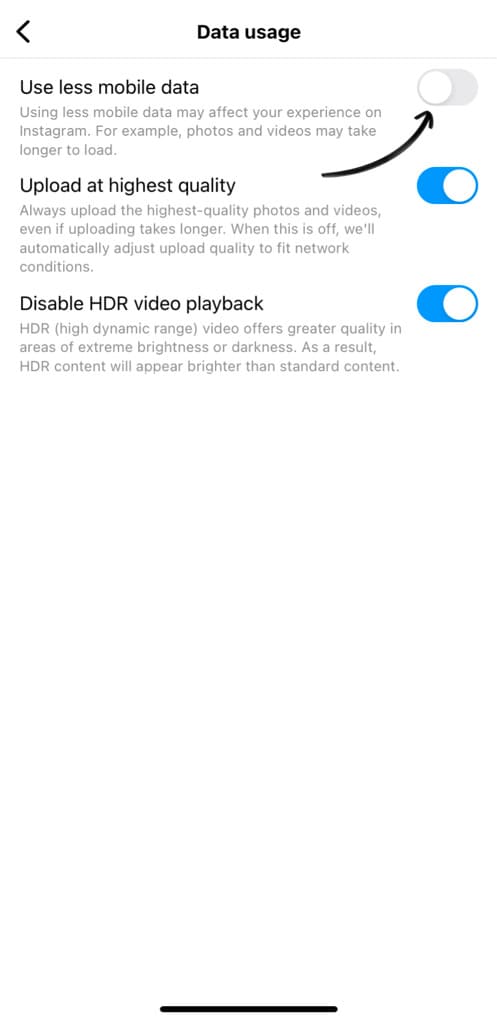
Once Data Saver is turned off, try uploading your reel again and this might fix your issue.
Method 7: Restart your phone
While this may be hard to believe, rebooting your phone can sometimes fix many issues. It clears the cache and RAM giving a “fresh start” to your phone. This can also help to clear up any minor glitches that may be causing your Instagram reels not to upload.
To restart your Android phone, simply hold down the power button until the option to restart appears. Once you select that, your phone will power off and then back on again.
If you are an iOS user, you do not have the option of deleting cached data on iPhone. However, you can achieve the same thing by restarting your device. Just press and hold the power button until the “Slide to Power Off” slider appears.
If your iPhone has a Home button, press and hold the Home button and the power button at the same time. After that, move the slider to the right to turn off your iPhone. To turn it back on, press and hold the power button until you see the Apple logo.
Method 8: Disable high quality uploads on Reels
Sometimes, Instagram Reels may encounter difficulties uploading due to the “Upload at Highest Quality” settings. This feature is designed to enhance the quality of your videos, but it can sometimes cause issues with the uploading process. Follow these steps to turn it off:
- Launch the Instagram app on your device.
- Navigate to your profile by tapping on your profile picture in the bottom-right corner.
- Tap the menu button (three horizontal lines) in the top-right corner.
- Now go to “Settings and privacy” option.
- Next, tap on “Media Quality“.
- Look for the “Upload at Highest Quality” option and toggle it off.

Once you’ve disabled the highest quality setting, attempt to upload your reel again. If everything worked fine, you should be able to upload your reel successfully. Please keep in mind that this method will affect the quality of your video.
Method 9: Reinstall the Instagram app
If you’re having trouble uploading your reels to Instagram, another thing that you can try is uninstalling and then reinstalling the app. This often fixes small bugs that may be causing the app to misbehave. It’s a simple yet effective method that could potentially save you a lot of time and hassle.
Method 10: Try uploading your reel again
As we discussed above, Instagram can have issues with uploading your reels if their servers are overloaded or down. You can search on Google to see if there have been any reports of an Instagram server outage in your region.
Unfortunately, when outages occur, there is nothing you can do to fix the problem. This is something out of your control. You must be patient and wait until the issue is resolved. Once it has been fixed, you will be able to upload your Instagram reels again.
Method 11: Upload reel from another device
Sometimes, technical glitches or compatibility issues can prevent reels from uploading on a particular device. Try uploading your reel from another device and check if the issue persists.
This method can help you determine whether the problem lies with Instagram or your device. If the reel uploads successfully from a different phone, it suggests that there might be an issue with your original device.
Method 12: Report the problem to Instagram
Finally, if you are unable to fix Instagram reels not uploading despite trying everything, you can contact their support team and report this problem. First, take a screenshot of the uploading progress on your news feed.
Next, navigate to the “Settings and privacy” page on your Instagram and then go to Help > Report a problem. Choose the same option again. After that, you will be asked whether you want to include complete logs and diagnostics. Tap on “Include and Continue“.

Now briefly explain what issue you are facing. Make sure to attach the screenshot from your gallery and tap the Submit button to send your report. The Instagram support team will look into your matter and get back to you soon.
Frequently asked questions
If Instagram reels are not working on your phone, the first thing to do is check if the app is up to date. Make sure that you have the latest version of the Instagram app. If it is not, update the app and try again. If that doesn’t work, restarting your device or logging out and logging back in may help.
As of now, there is no official way to upload Instagram Reels from a PC. However, there are some workaround methods that you can try. One method is to use the Bluestacks Android emulator to run the Instagram app on your PC. Another method is to use a third-party service or Chrome extension to upload your reels from the desktop.
There could be a few reasons why you are unable to get your videos uploaded to Instagram. It could be a problem with your internet connection, a glitch in the app, server outages or because the app is having trouble processing your video.
Some users have reported that they are no longer able to see the reels after updating their Instagram app to the latest version. This is likely a bug that can be fixed by reinstalling the app or re-logging into your account.
Instagram now allows you to upload your reels in HD quality. To enable this setting, go to your profile, tap on the three lines in the top-right corner, and then click on Settings. From there, tap on Account and then go to the Data usage option. Now enable the toggle button named “Upload at Highest Quality“.
After you upload a reel to Instagram, the app compresses the video to make it load faster for users. This compression can significantly reduce the quality of your video. If you want to avoid compression, enable the “Upload at highest quality” option under Advanced settings while uploading your Instagram reels.
Upload your Instagram reels hassle-free
It can be really frustrating when you are all set to share your new reel but end up getting stuck in the uploading process. Instagram doesn’t inform you as to why your reels are not uploading, which can leave you feeling helpless and confused.
We tried our best to explain everything about this issue of Instagram reels not uploading such as why it happens and how you can fix it on your phone. After following this guide, you will be able to upload your videos to Instagram reels normally without any problem.
If you still have any queries related to this topic, leave them in the comments and we will try to help you out. Don’t forget to share this article with your friends who might be facing the same issue. You can also check out other interesting Instagram guides on our website.
Read other similar articles:
- How to Fix Instagram Reels Stuck at Zero Views
- How to Fix Instagram Notes Not Showing
- How to Fix Audio Unavailable on Instagram Reels
- Fix This Story Is Unavailable on Instagram
- How to Fix No Sound on Instagram Story